Overview

Windows is currently very experimental on our virtual server infrastructure. We do not provide licensing and we can only provide very surface-level support for any Windows-based operating systems. By default, it is possible to activate a 180-day evaluation edition for the purposes of evaluating Windows Server. Once the 180-day evaluation is expired, your server will automatically restart every 1 hour.

If you have a dedicated server or a product that is not a virtual server, please open a ticket for assistance as this guide may not help you, since dedicated servers are based on a completely different infrastructure.

Installing Windows Server

First, please launch the VPS management panel by navigating to the product page and clicking the green button that says Launch VPS Management Panel (SSO) or similar.
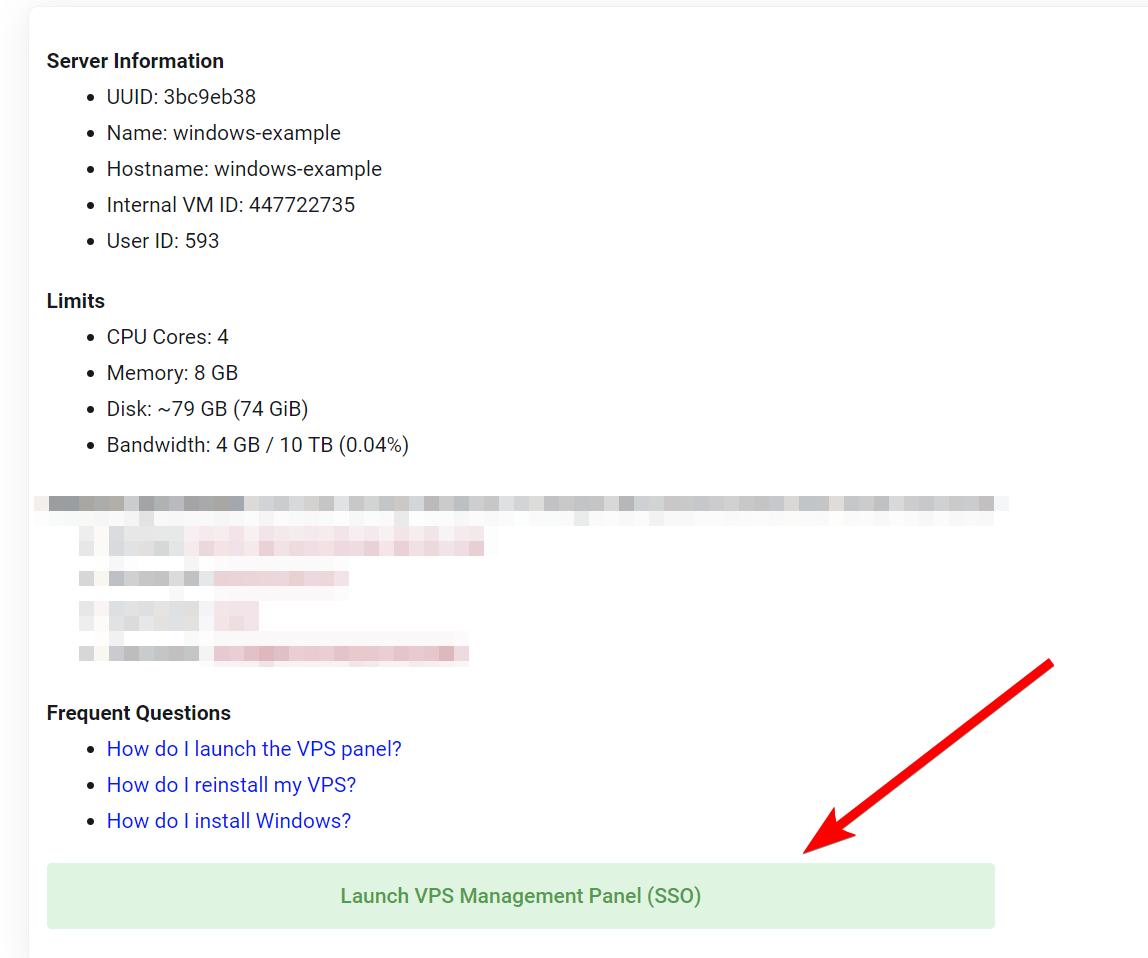
 VPS Launch Once you are inside the control panel, please navigate to your service and then click on the Settings tab. Settings Then go to Reinstall, set your template group to Windows and select your desired version of Windows Server (i.e. 2012R2, 2019, 2022). Windows Server Once you are done, type in a password and click on Reinstall. Please wait for the reinstallation to finish, please note that you may have to manually refresh the page once it is finished.

After the reinstallation is complete, please navigate back to the Overview tab, click the Start button, and then launch the noVNC console. noVNC

Depending on the version of Windows Server that you installed, it may prompt you to click on Ctrl+Alt+Del within Windows to sign in. In order to do this, please go to the sidebar on the noVNC console and extend it. Then click on the first option which has a key that has A, then click on the last button with the 3 square icons. ctrlaltdel

Once that is done, it will prompt you to change the password of the user in order to sign in. Click on the OK button and put in the password that you would like as the Administrator login. Please make this secure, it is incredibly common for Windows servers to be brute forced and used maliciously. password

Sign into the OS. Then, there should be two scripts on the desktop. One is called setup.bat and one is called resize_disk.ps1. Run the setup.bat script by double clicking on it, and run the resize_disk.ps1 by right clicking on it and clicking Run with PowerShell. These scripts will perform a couple of actions such as configuring the network, resizing the disk, and extending the evaluation to 180-days.

Once you are done, restart the virtual machine. Windows will be installed and you can initiate an RDP connection into it.