

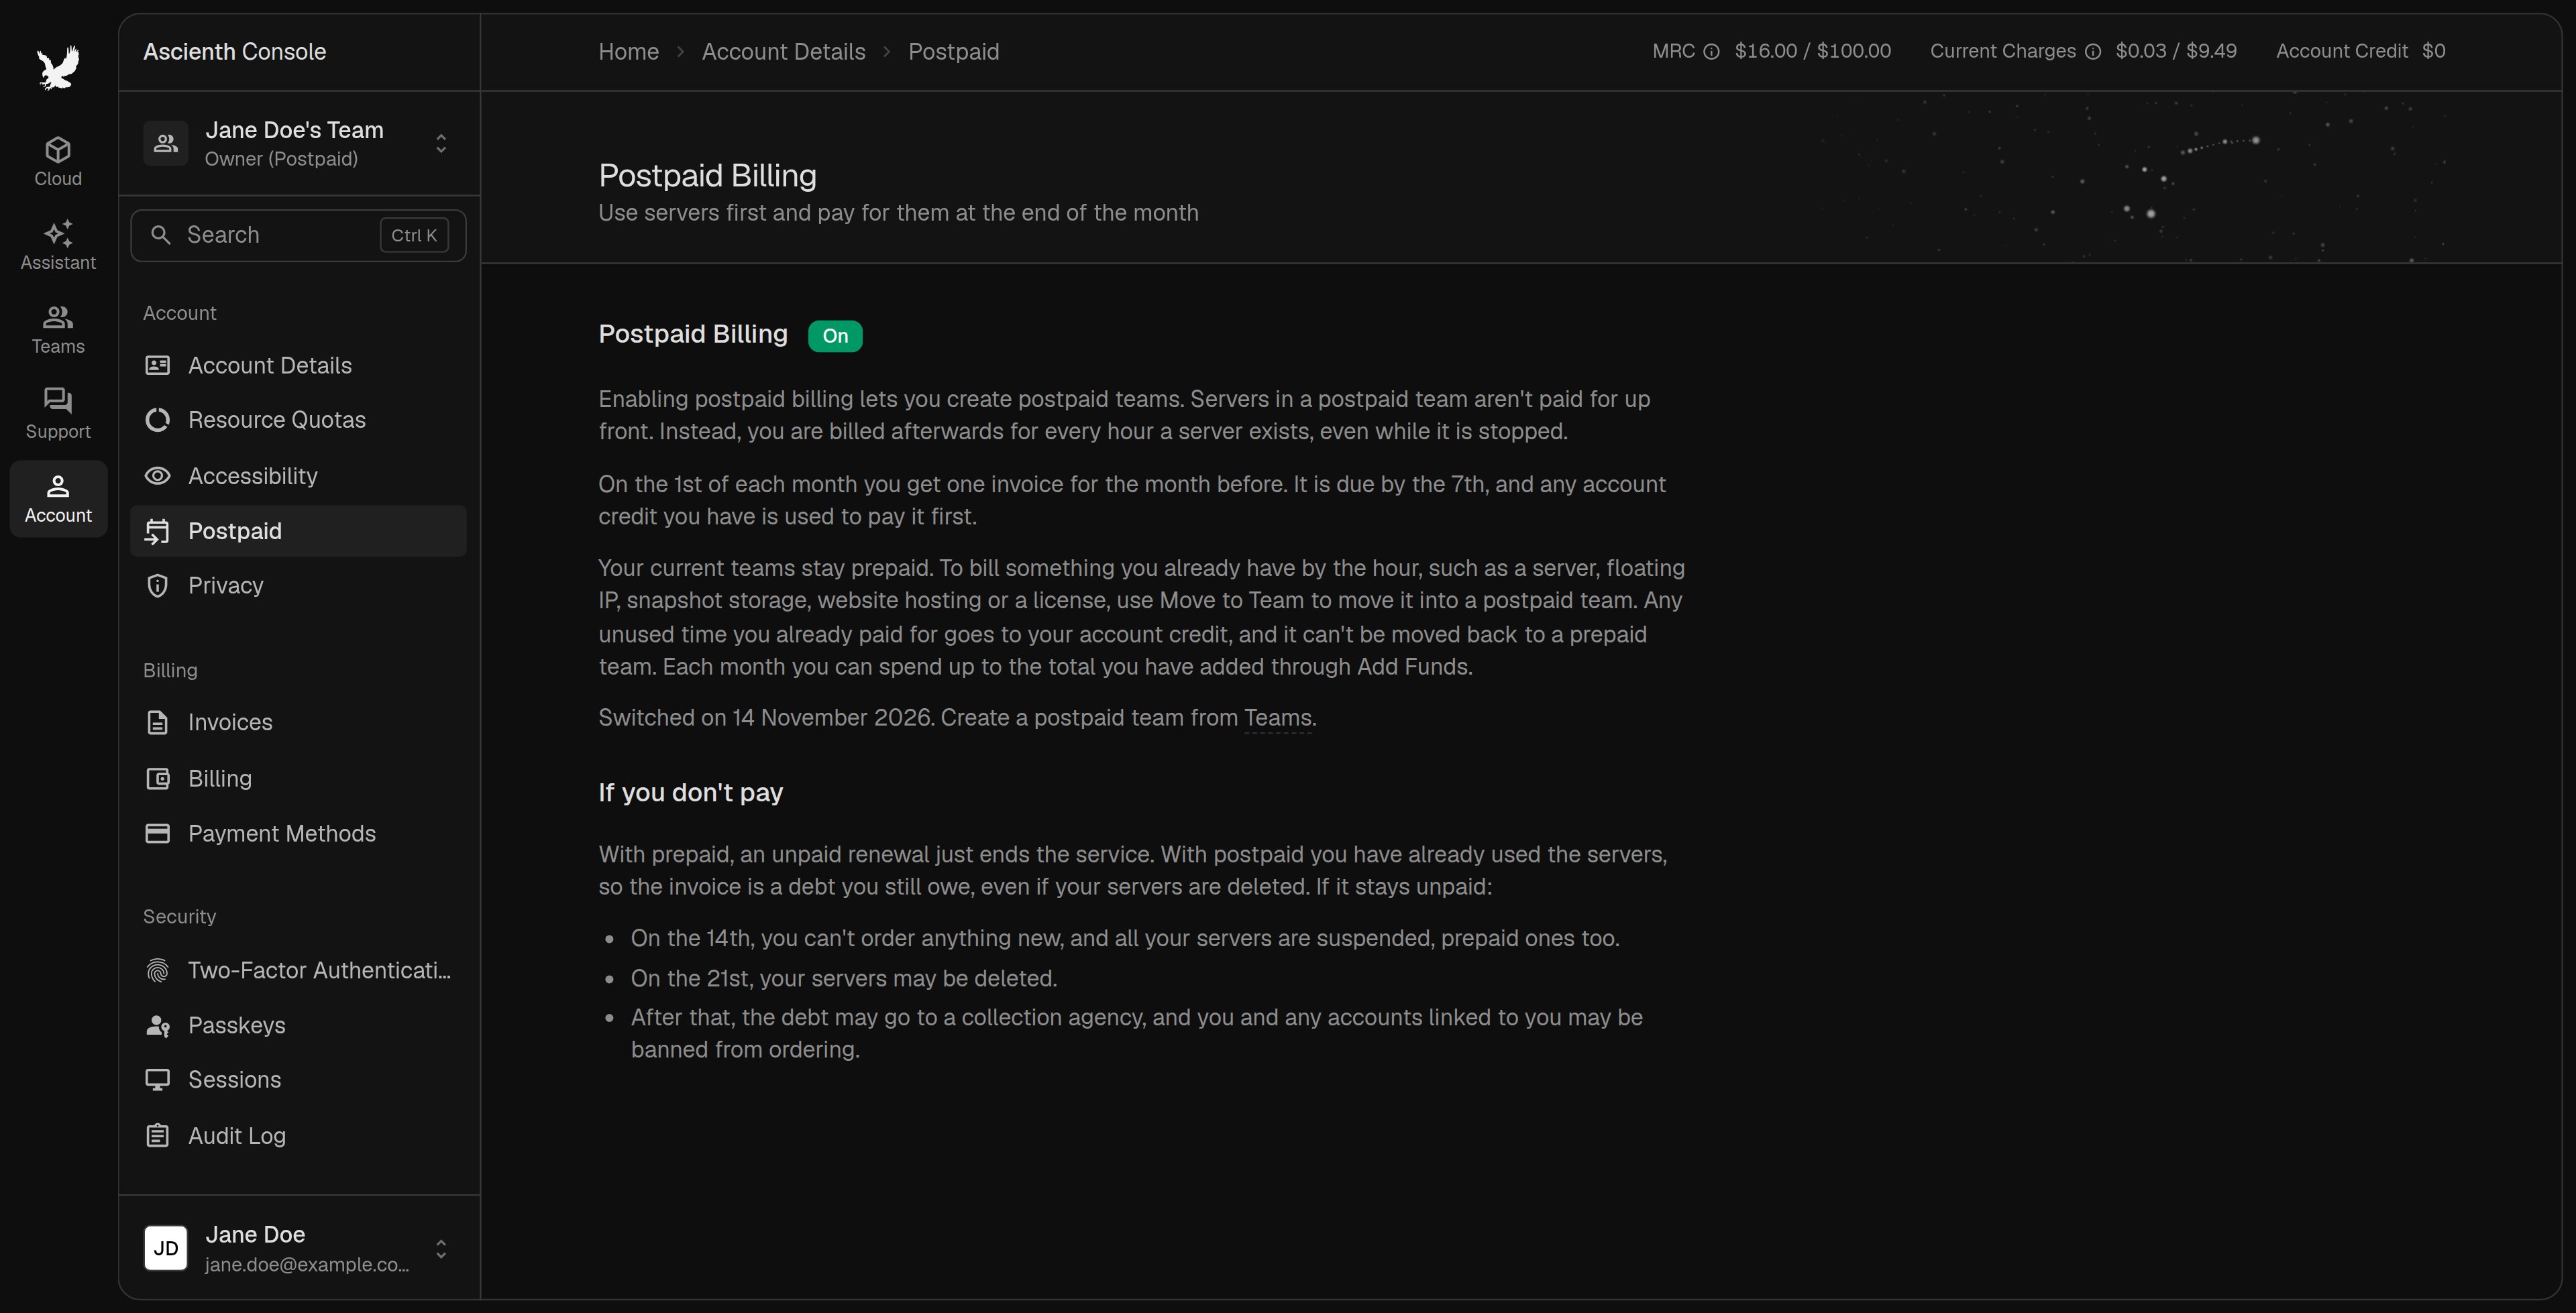
Owner (Postpaid) when the selected team is postpaid. Prepaid teams pay ahead instead.
How charges work
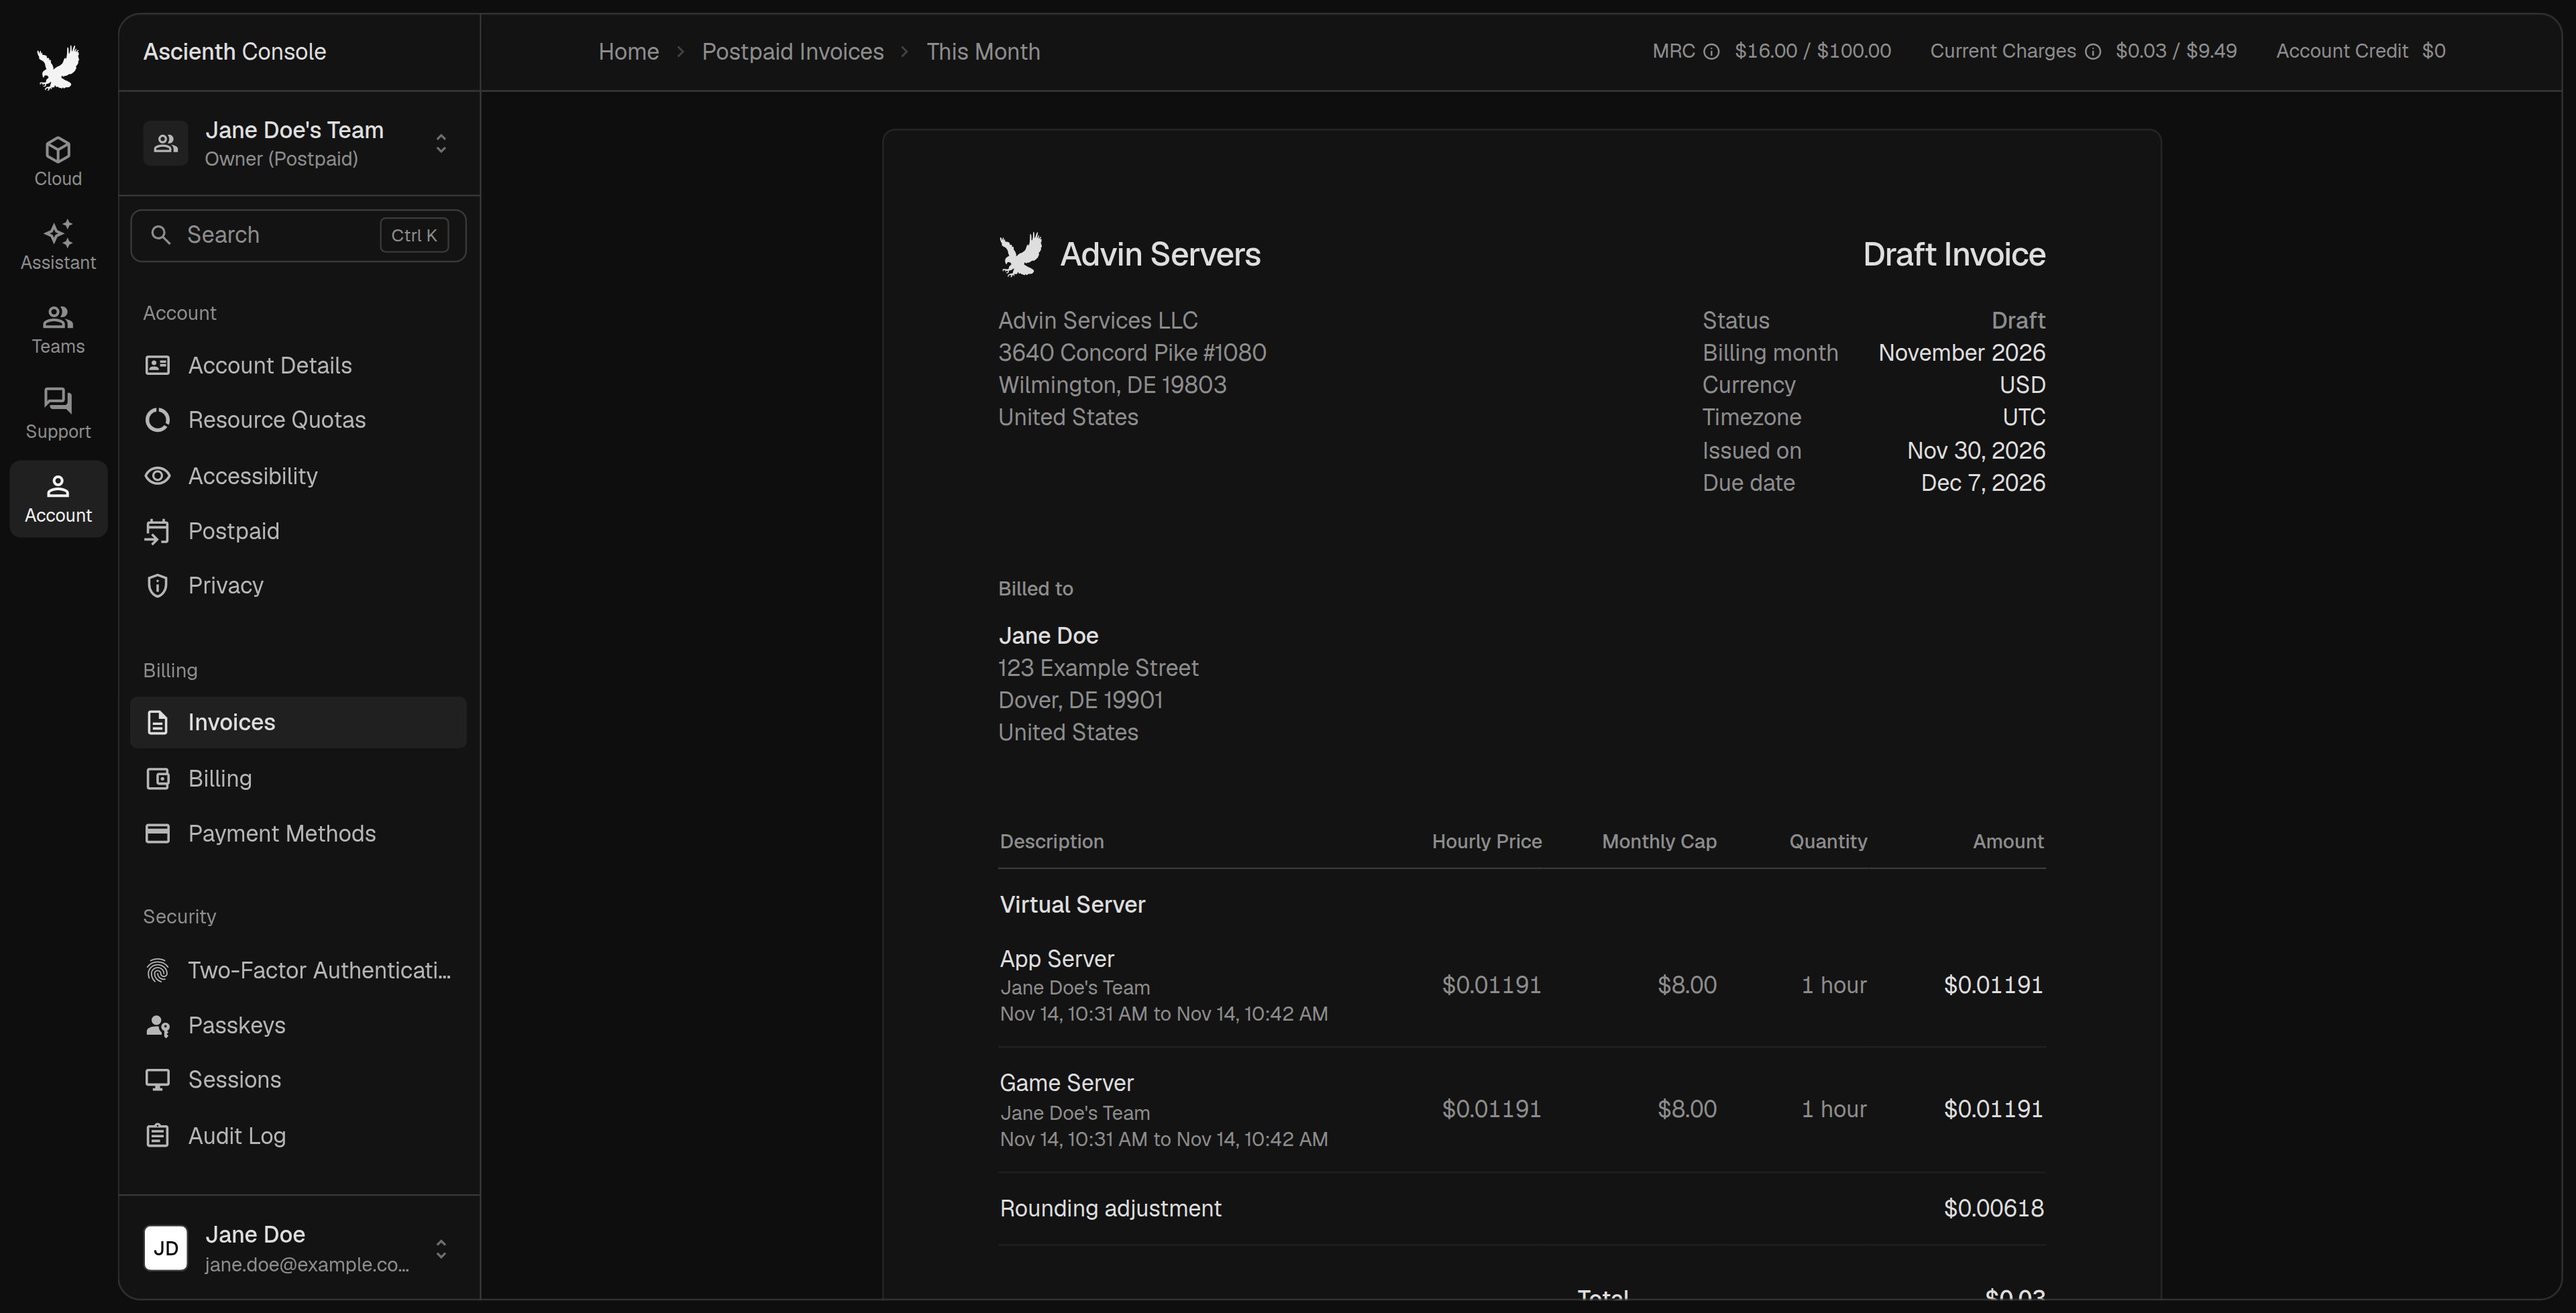
Part of an hour counts as a whole hour, with a minimum of one hour. Hourly rates are based on 672 hours per month. A resource kept all month reaches its monthly cap, and the invoice can show an adjustment line to keep the charge within it, plus a small rounding adjustment to whole cents. At a displayed rate of $0.01191 per hour, 10 billed hours cost $0.11910 before the invoice total is rounded.
The general rules, including the cap and what keeps billing, are in How Billing Works.
Check your current charges
The dashboard showsMRC and Current Charges. Open the current postpaid invoice to see the items behind the total. It’s a draft while the month is in progress and changes as you use, upgrade or delete resources.
Pay the monthly invoice
Invoices are finalized on the 1st and due on the 7th (schedule). Totals below the minimum invoice amount are carried forward to a later month, not waived. The standard minimum is $5. Check your invoice for the amount due. Pay from “Invoices”. Available account credit is applied to postpaid invoices first, including credit added after the invoice was published. To charge your default saved method automatically, turn onAutomatic Payments on the “Billing” page. See Invoices and Payments.
Credit limit
Your postpaid credit limit controls how much you can commit to spending. It isn’t account credit and isn’t a free balance. Open “Account” > “Resource Quotas” to see it, or “Account” > “Billing” where a monthly limit notice is shown.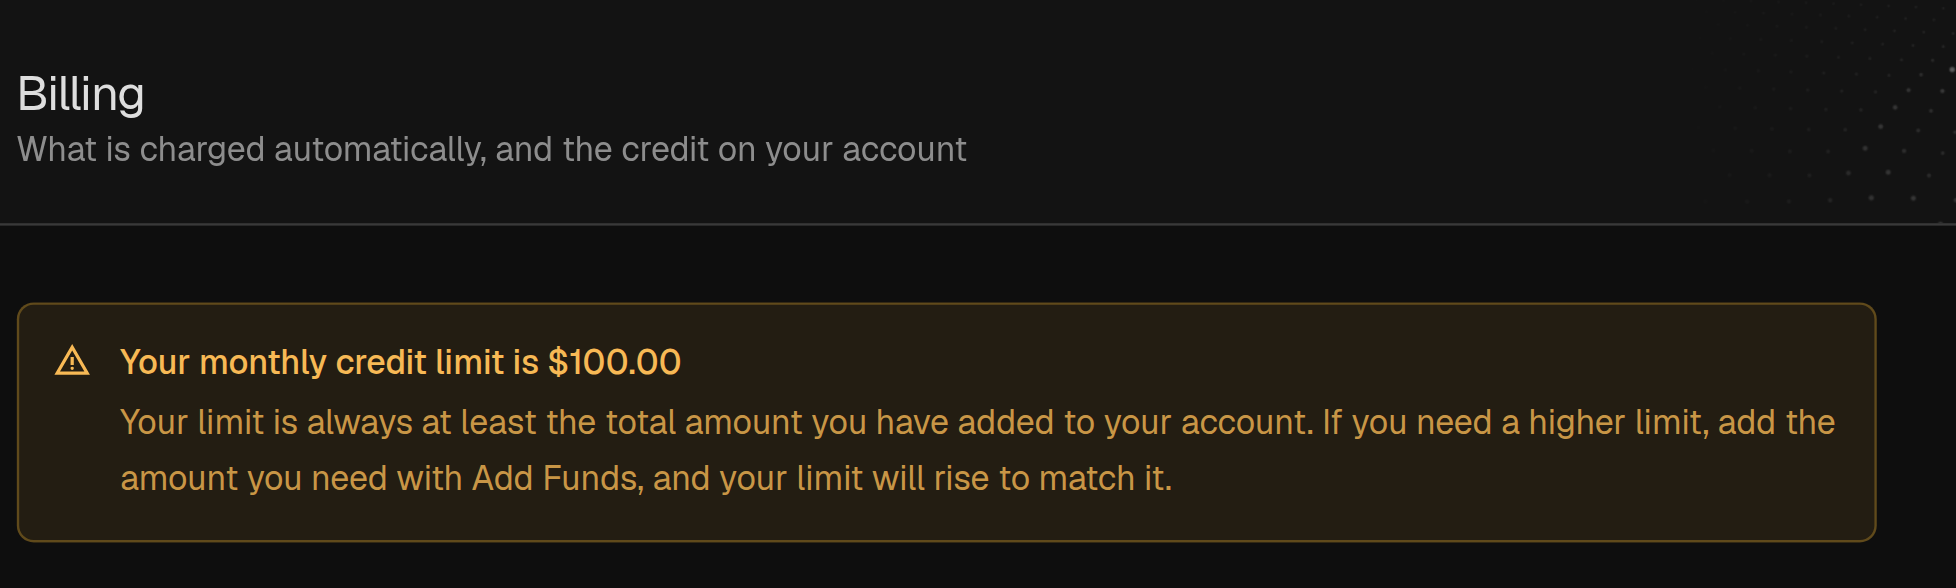
- the monthly cost of resources you keep
- pending purchases
- this month’s charges for resources you’ve deleted
- one-time charges
Raise the limit
The limit is the higher of your starting allowance and the total of eligible top-ups credited to your account. Spending credit doesn’t reduce that total. With a $100 starting limit and $80 in eligible deposits, the limit stays $100. Add $50 more and the deposit total is $130, so the limit becomes $130, not $150.1
Check the limit and the purchase amount
Make sure deposits can raise your limit.
2
Add funds
Click
Add Funds on “Billing” for an amount you intend to keep as account credit. Deposits follow the Refund Policy.3
Wait, then retry
Wait until the top-up is credited and check the limit again before retrying the purchase.
Purchase holds
A purchase hold is different from a low limit or an overdue-invoice suspension.
A staff hold blocks new orders, including in prepaid teams, but leaves existing services running. If a dated hold has ended, retry after its end time. Another restriction may still block the order. We email you when staff place or lift a hold.
When you contact support, include the exact refusal message and what you were buying. Don’t keep retrying the order or adding funds to clear an unexplained hold.
Enable postpaid on an existing account
New accounts complete payment verification during account setup. This section is for older prepaid accounts.1
Open Postpaid
Open “Account” > “Postpaid”.
2
Submit your request
Use the request option on the page, accept the billing terms, and complete the card or PayPal verification. The amount shown is a temporary hold, not a deposit to account credit.
3
Wait for our decision
Approval can take a week or longer. We email you the result. Don’t submit another request while one is pending.
4
Create a postpaid team
Once approved, open “Teams” and create a postpaid team. Select that team before ordering.
Move a prepaid service
1
Open the service menu
Choose
Move to Team.2
Choose a postpaid team
Select one of your postpaid teams.
3
Confirm the change
Check the credit for unused paid time, accept the billing change and confirm. Wait for confirmation before submitting again.
Stop charges
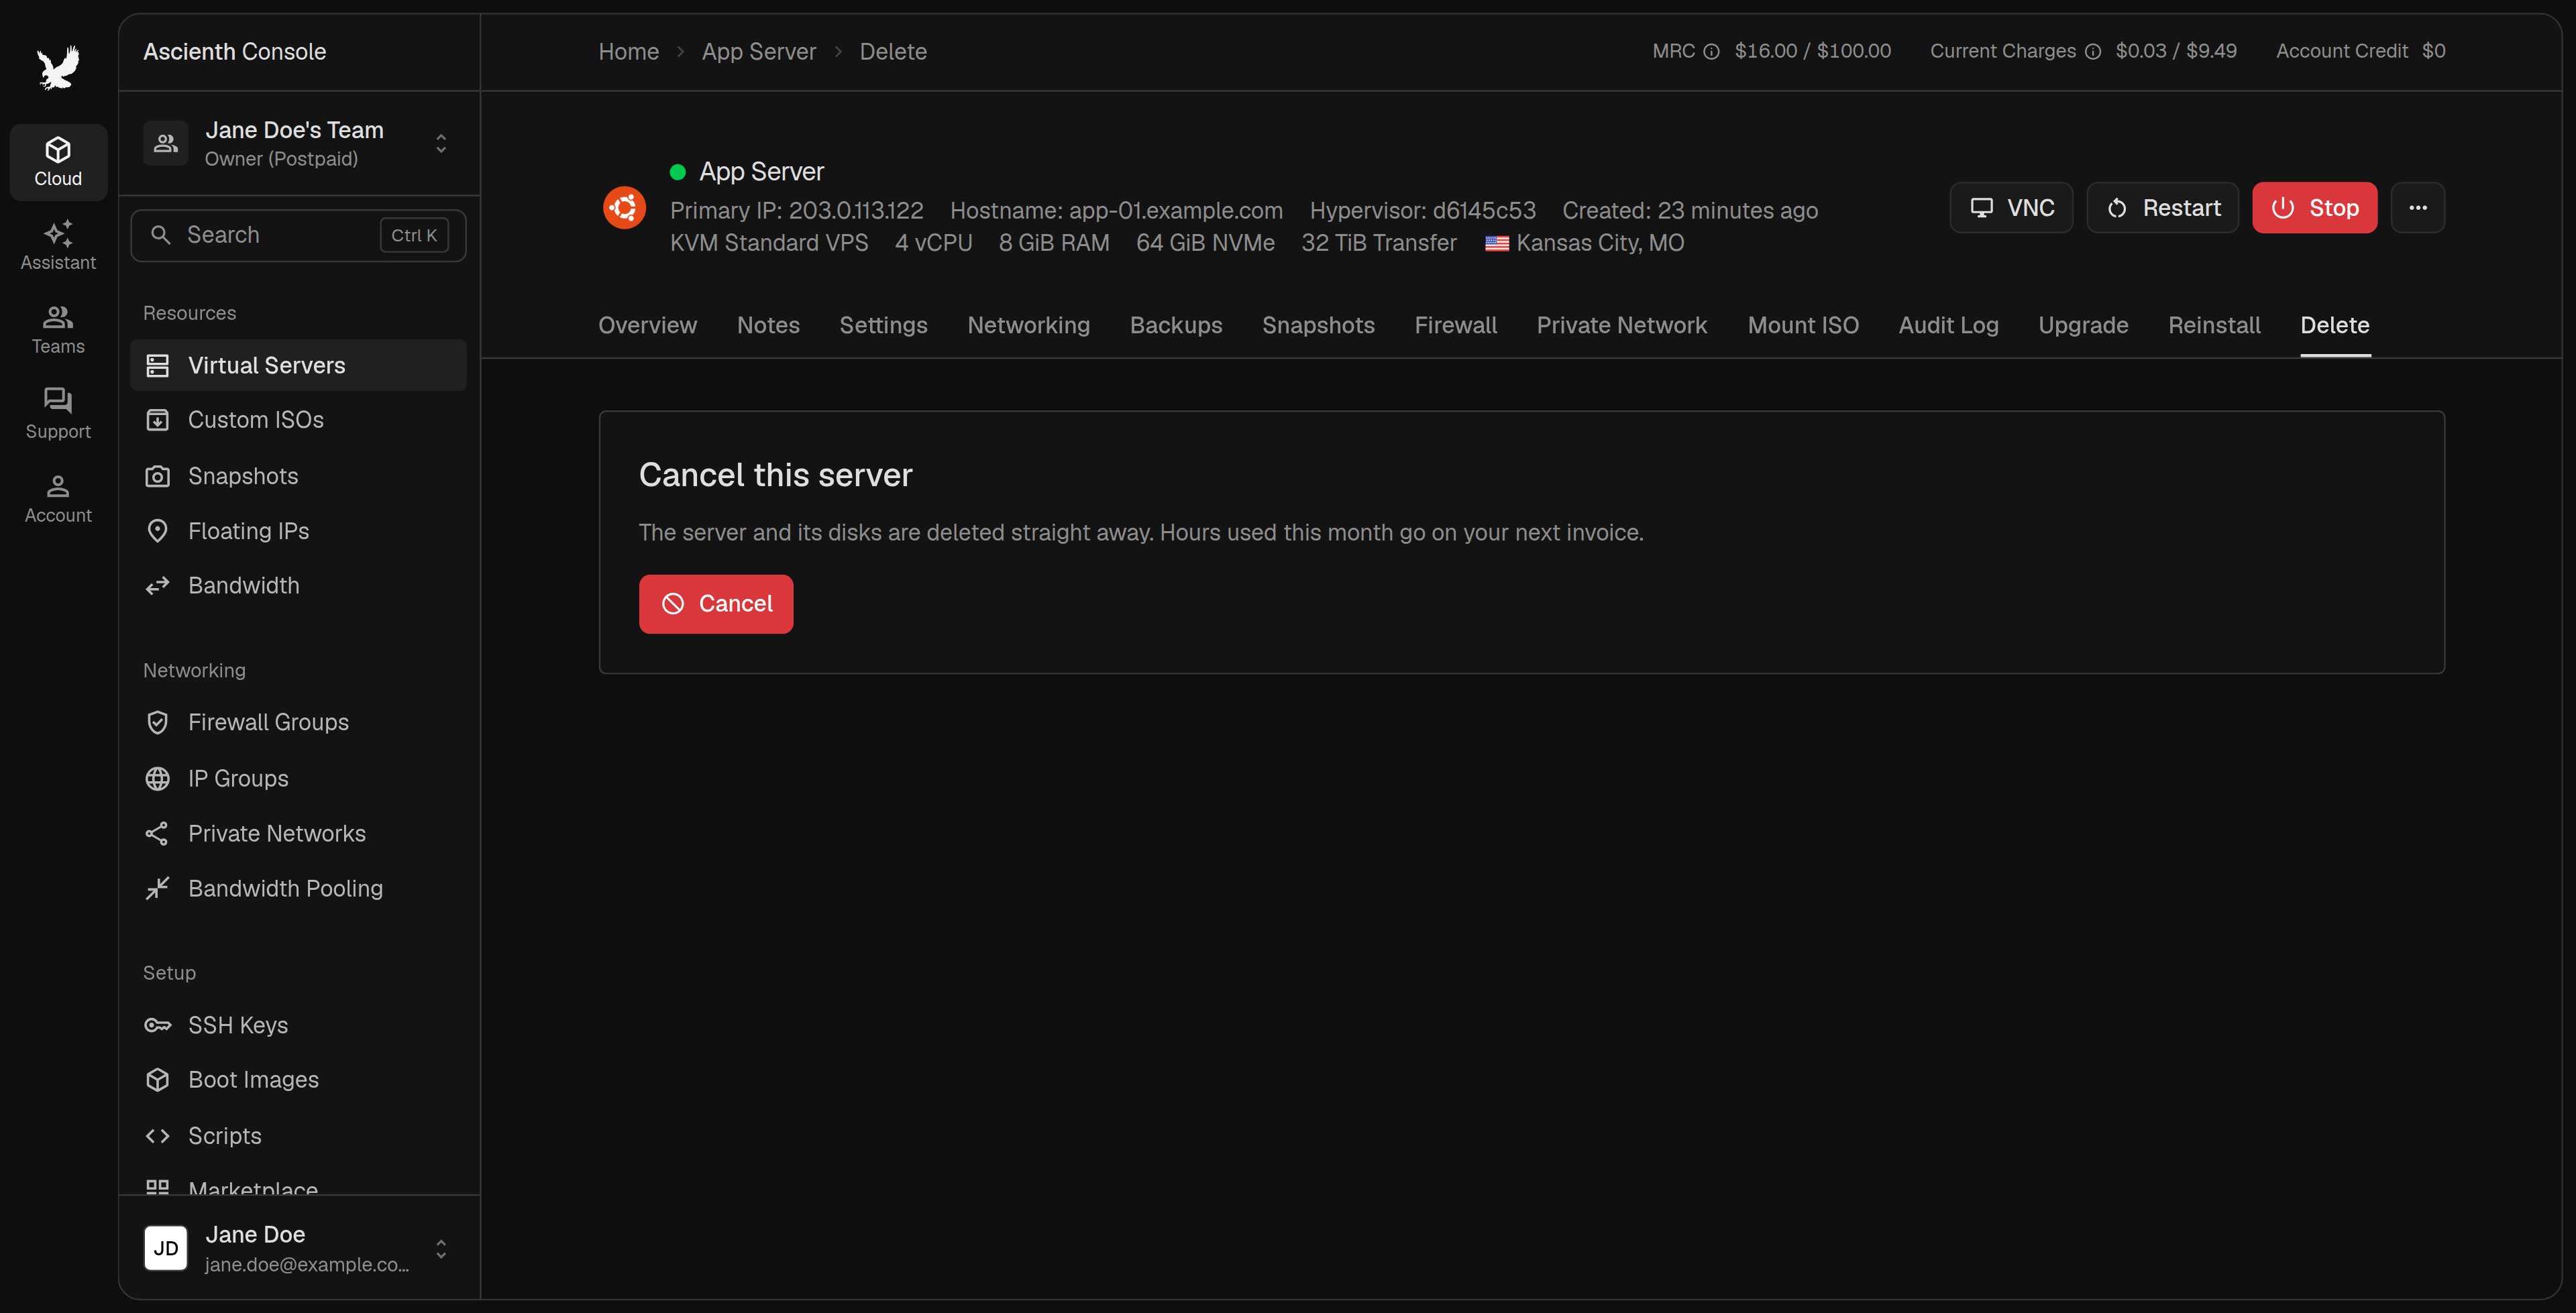
Open the server, choose “Delete”, then clickCancel. Check the amount billed so far, select any floating IPs to cancel with it, and enter the server name to confirm. Postpaid servers are deleted immediately, since there’s no paid term to finish. Usage already incurred stays on the next invoice.
Deleting a server destroys its disks. Download what you need first. Saved snapshots and floating IPs you keep are separate resources and keep billing.
Overdue invoices
Pay by the due date. Under the standard schedule, in the month after the usage:
After you pay, allow time for the payment to clear and the account to update. Payment can’t restore services that were already deleted. Open a ticket if payment has cleared but access hasn’t returned.