Overview
Teams let other people work on your servers without sharing your password. Each person signs in with their own account, and a role decides what they can do in your team. Everything they do is recorded in the team’s audit log under their own name. You can manage members from the “Teams” section of the Ascienth console at https://console.advinservers.com.The person you invite must already have an account with us, either on the client area at https://clients.advinservers.com or on the Ascienth console. They do not need to have signed in to the console before.
Built-in Roles
Every team starts with three roles. They cannot be edited or deleted, but you can give them to anyone.
If none of these fit, create a custom role first.
What Roles Do Not Cover
A role only covers what is inside the team. Each member’s invoices, billing details, two-factor authentication and API keys belong to their own account, so no role can give a member access to yours. See Teams and Accounts for the full list.Team members cannot see or pay your invoices. The “Invoices” page always shows the invoices of the person signed in, even while they are working in your team. A member with the
Make purchases permission can still spend your account credit on new servers and upgrades for the team.Creating a Custom Role
1
Open the Roles page
Click “Teams” in the left sidebar, then “Roles”. You will see the built-in roles and any custom roles you have made.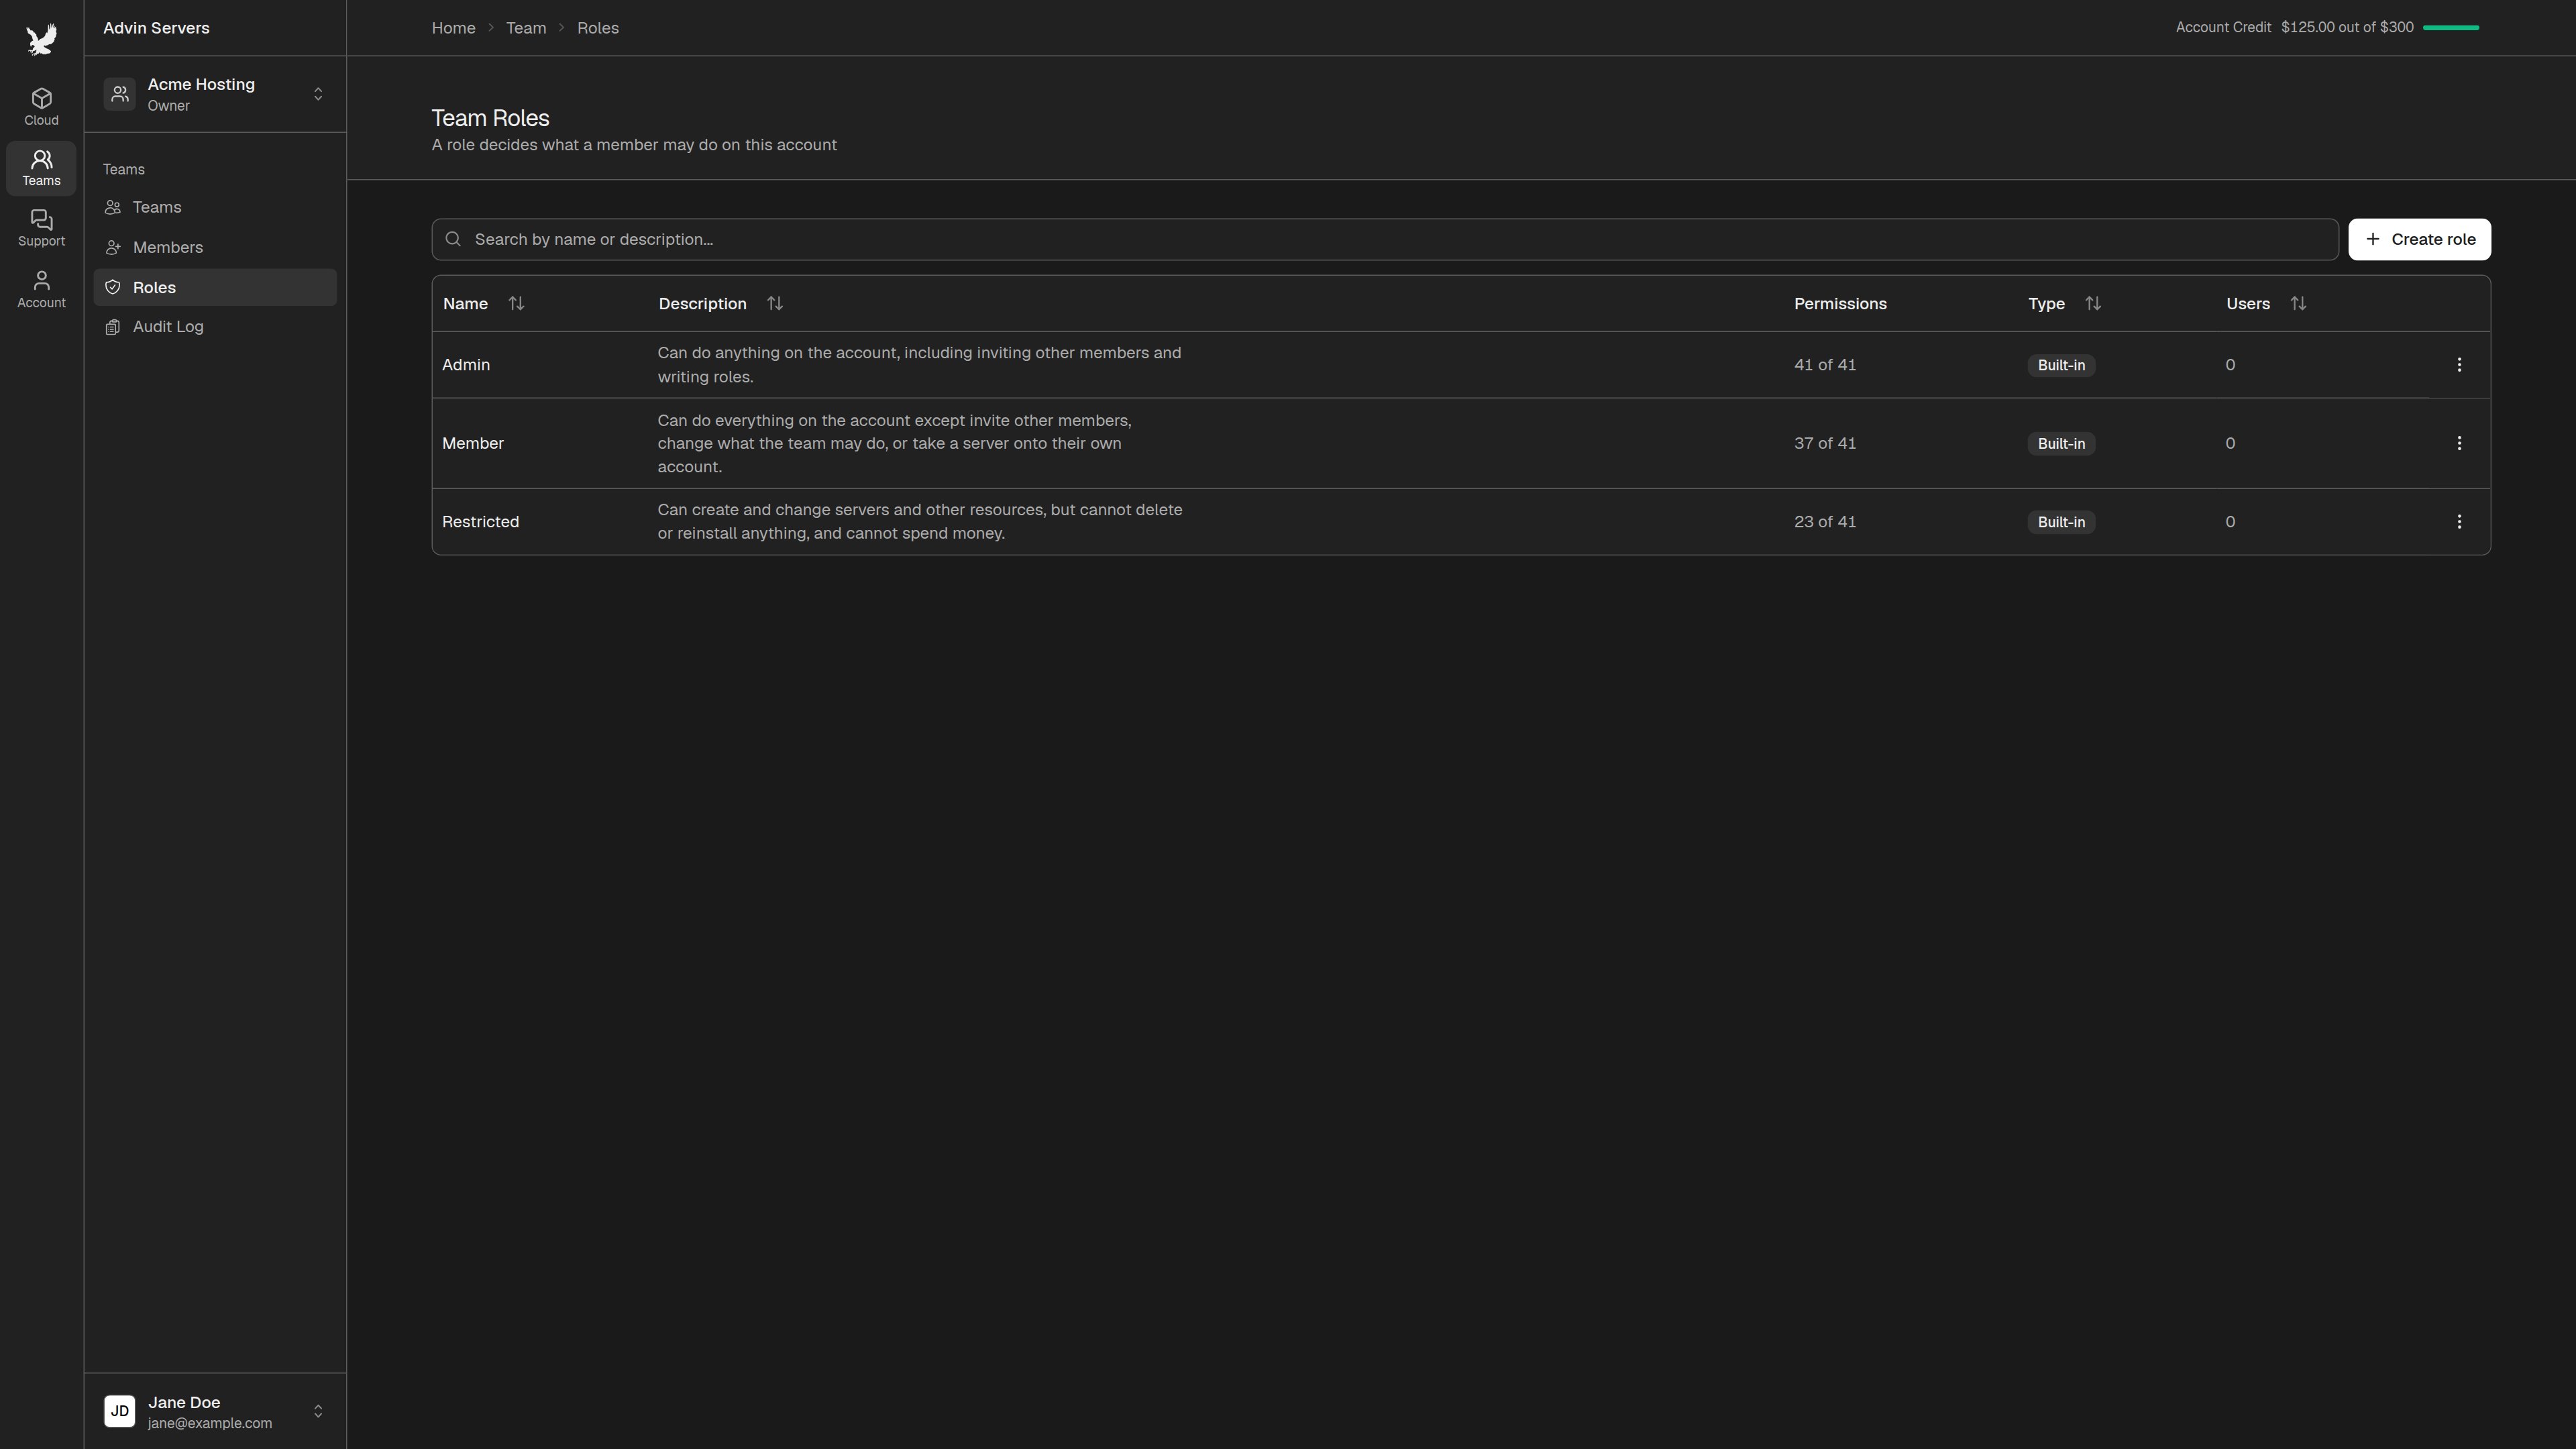
2
Create the role
Click 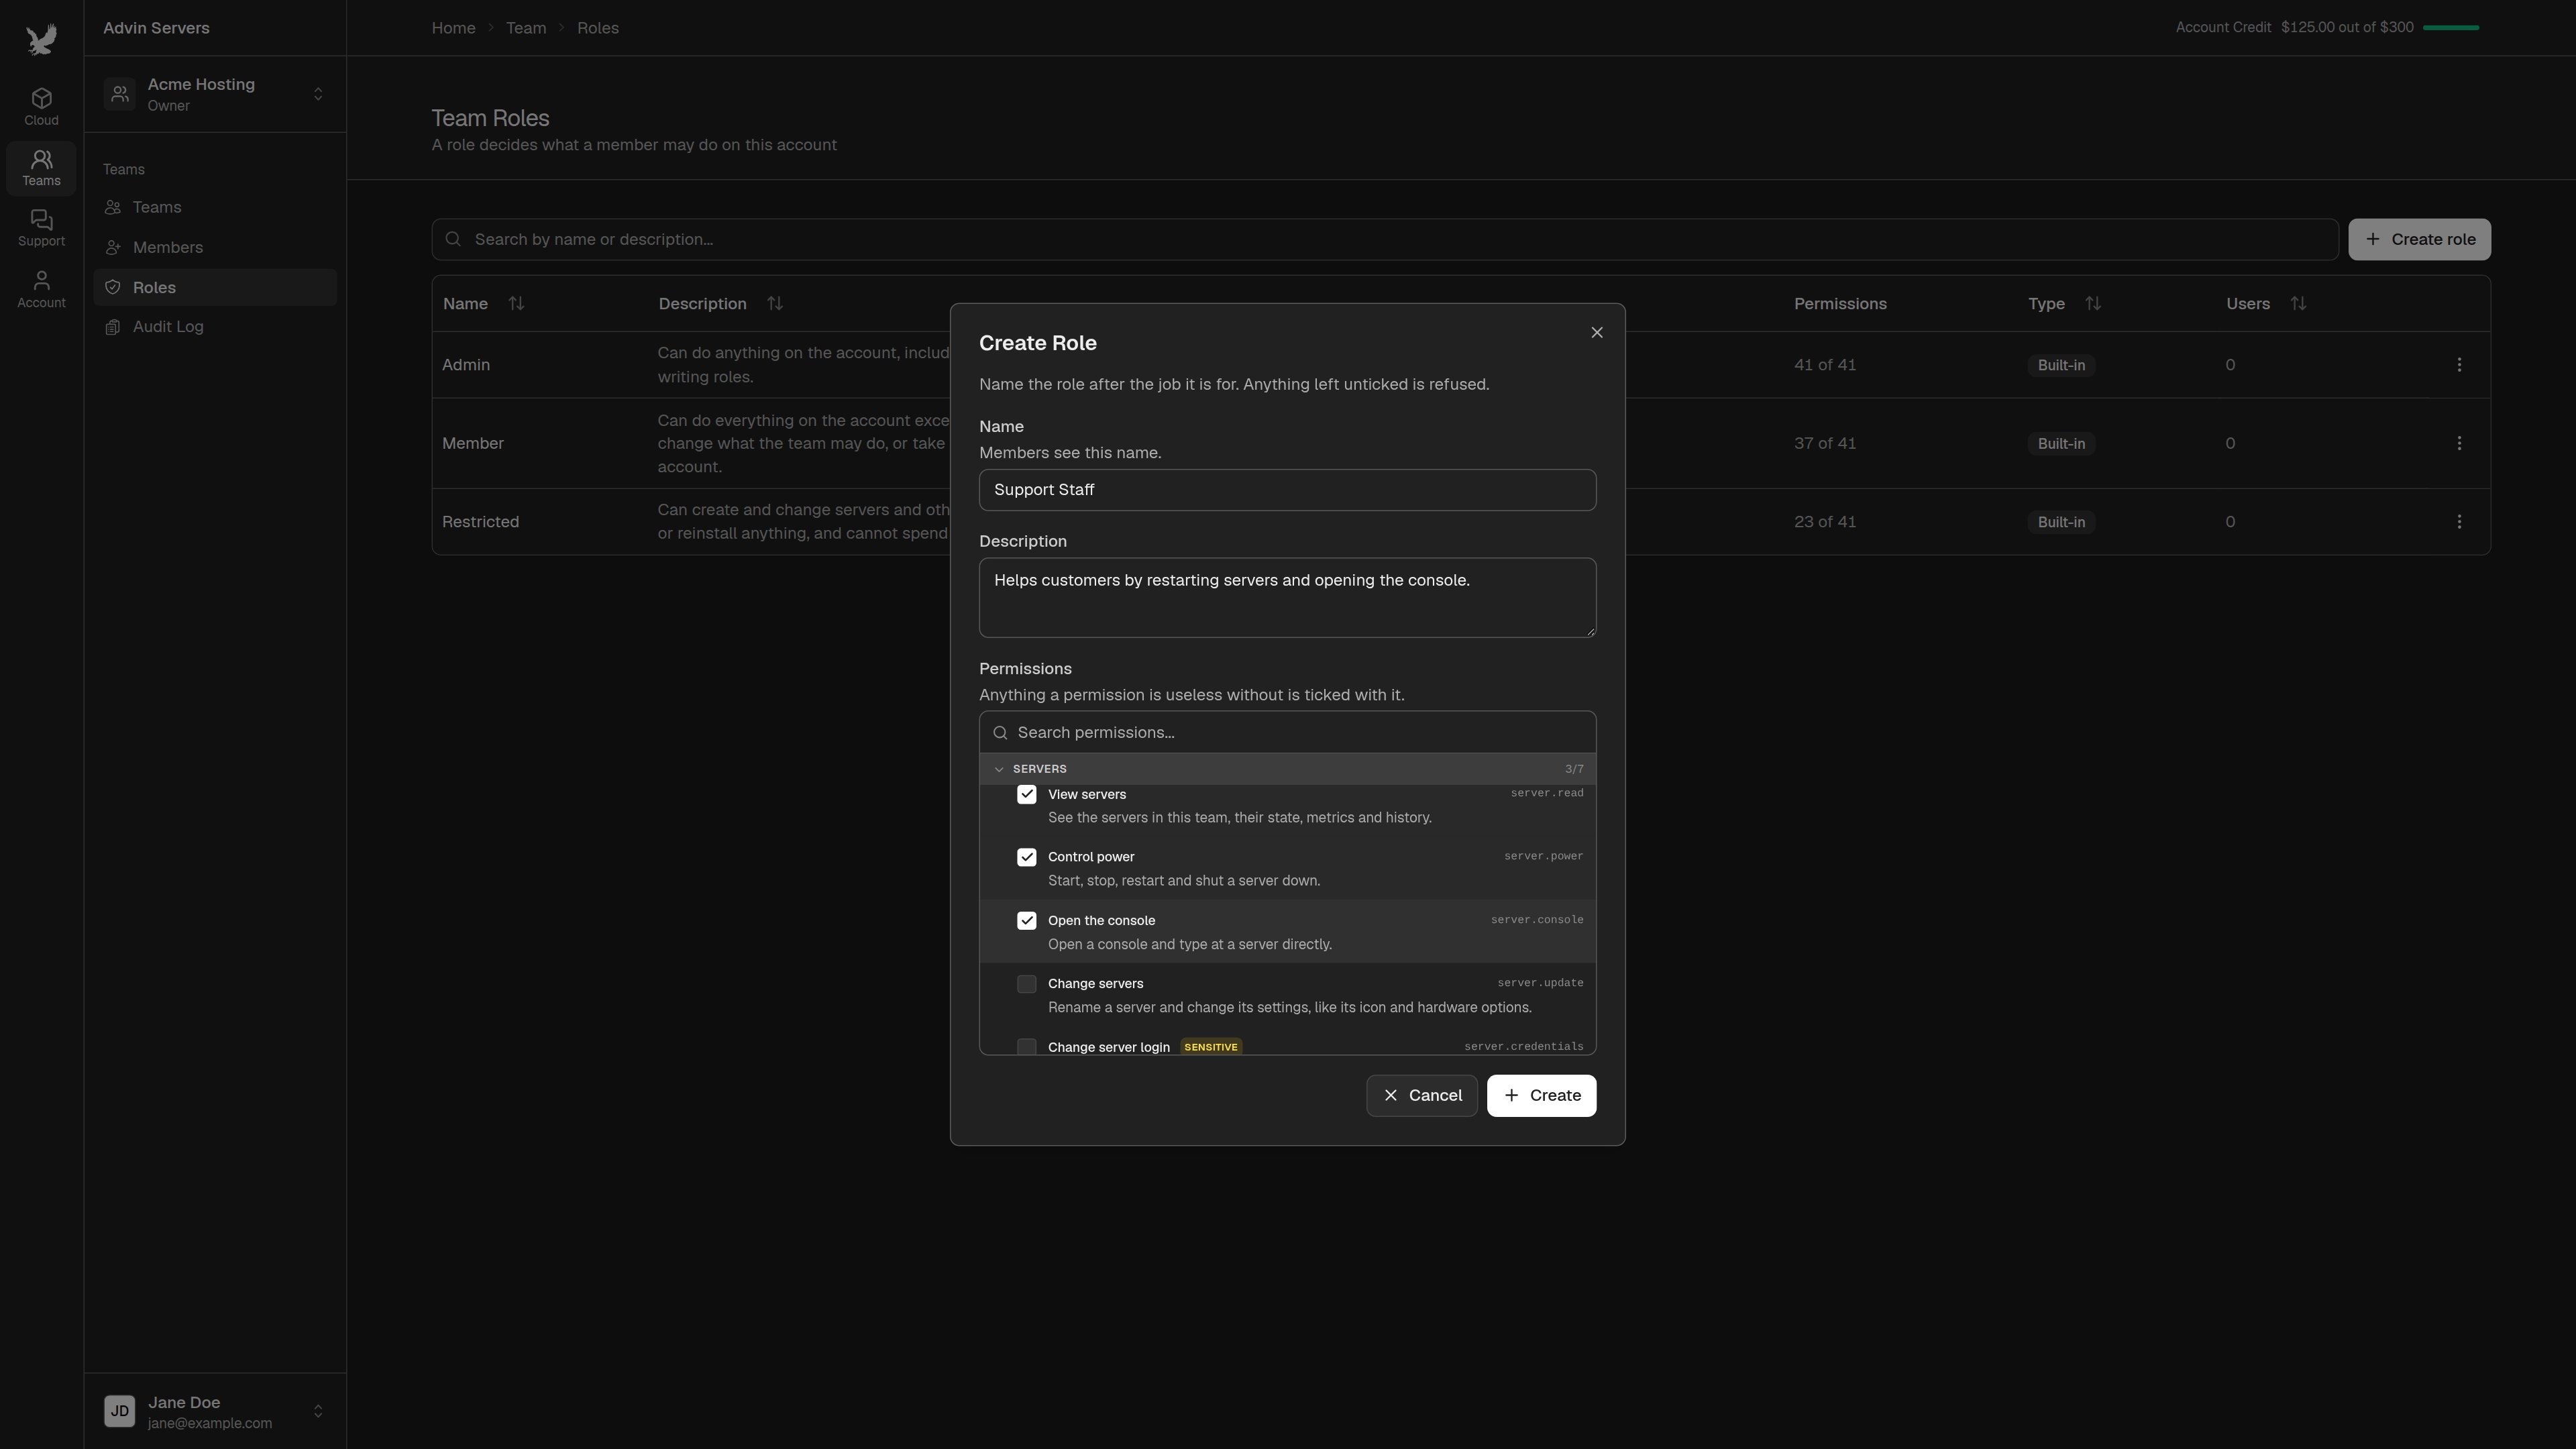
Create role. Name the role after the job it is for, and add a short description if you like.Tick each permission the role should have. Anything left unticked is refused. When a permission needs another one to work, the other one is ticked for you. For example, ticking Control power also ticks View servers.Permissions marked Sensitive can delete data, give away resources, or spend money. Only grant them to people you trust.3
Save
Click 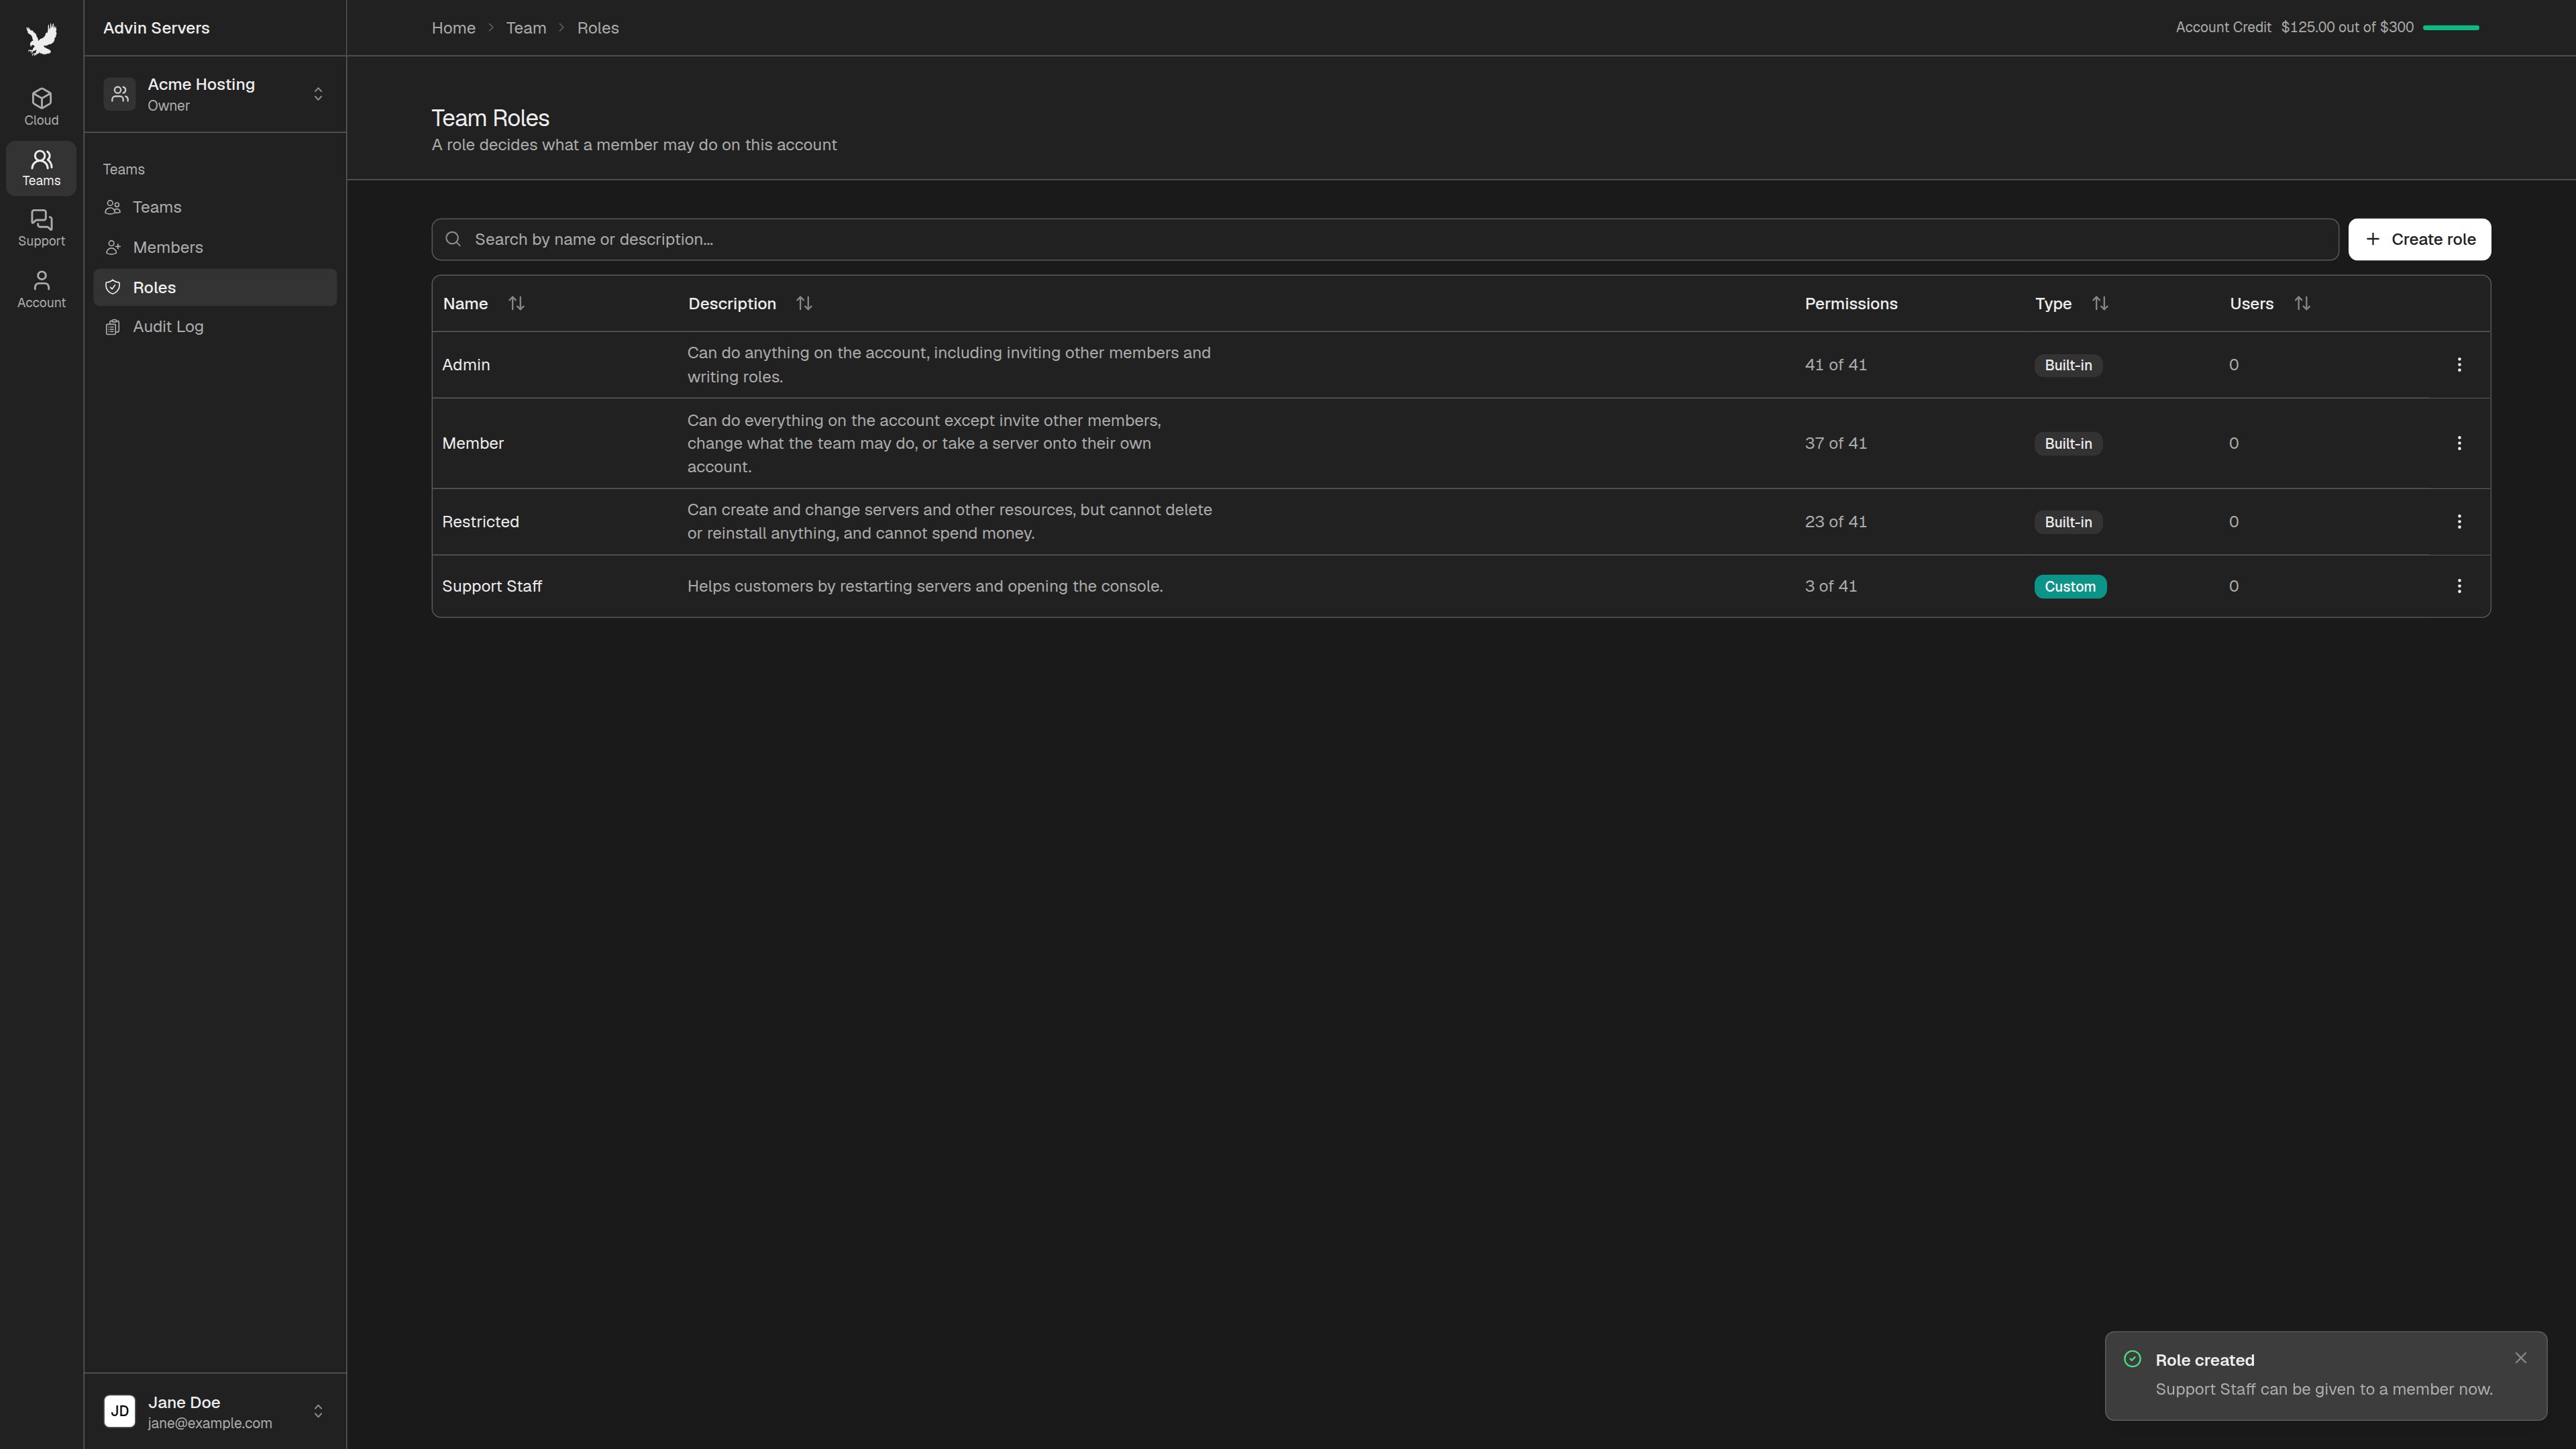
Create. The new role appears in the list, marked Custom, and can now be given to a member.Edit or Delete. A role cannot be deleted while a member holds it or a pending invitation offers it.
Inviting a Team Member
1
Open the Members page
Click “Teams” in the left sidebar, then “Members”, and click
Invite member.2
Enter their email and choose a role
Enter the email address of their client area or console account, and pick the role they should have. Then click 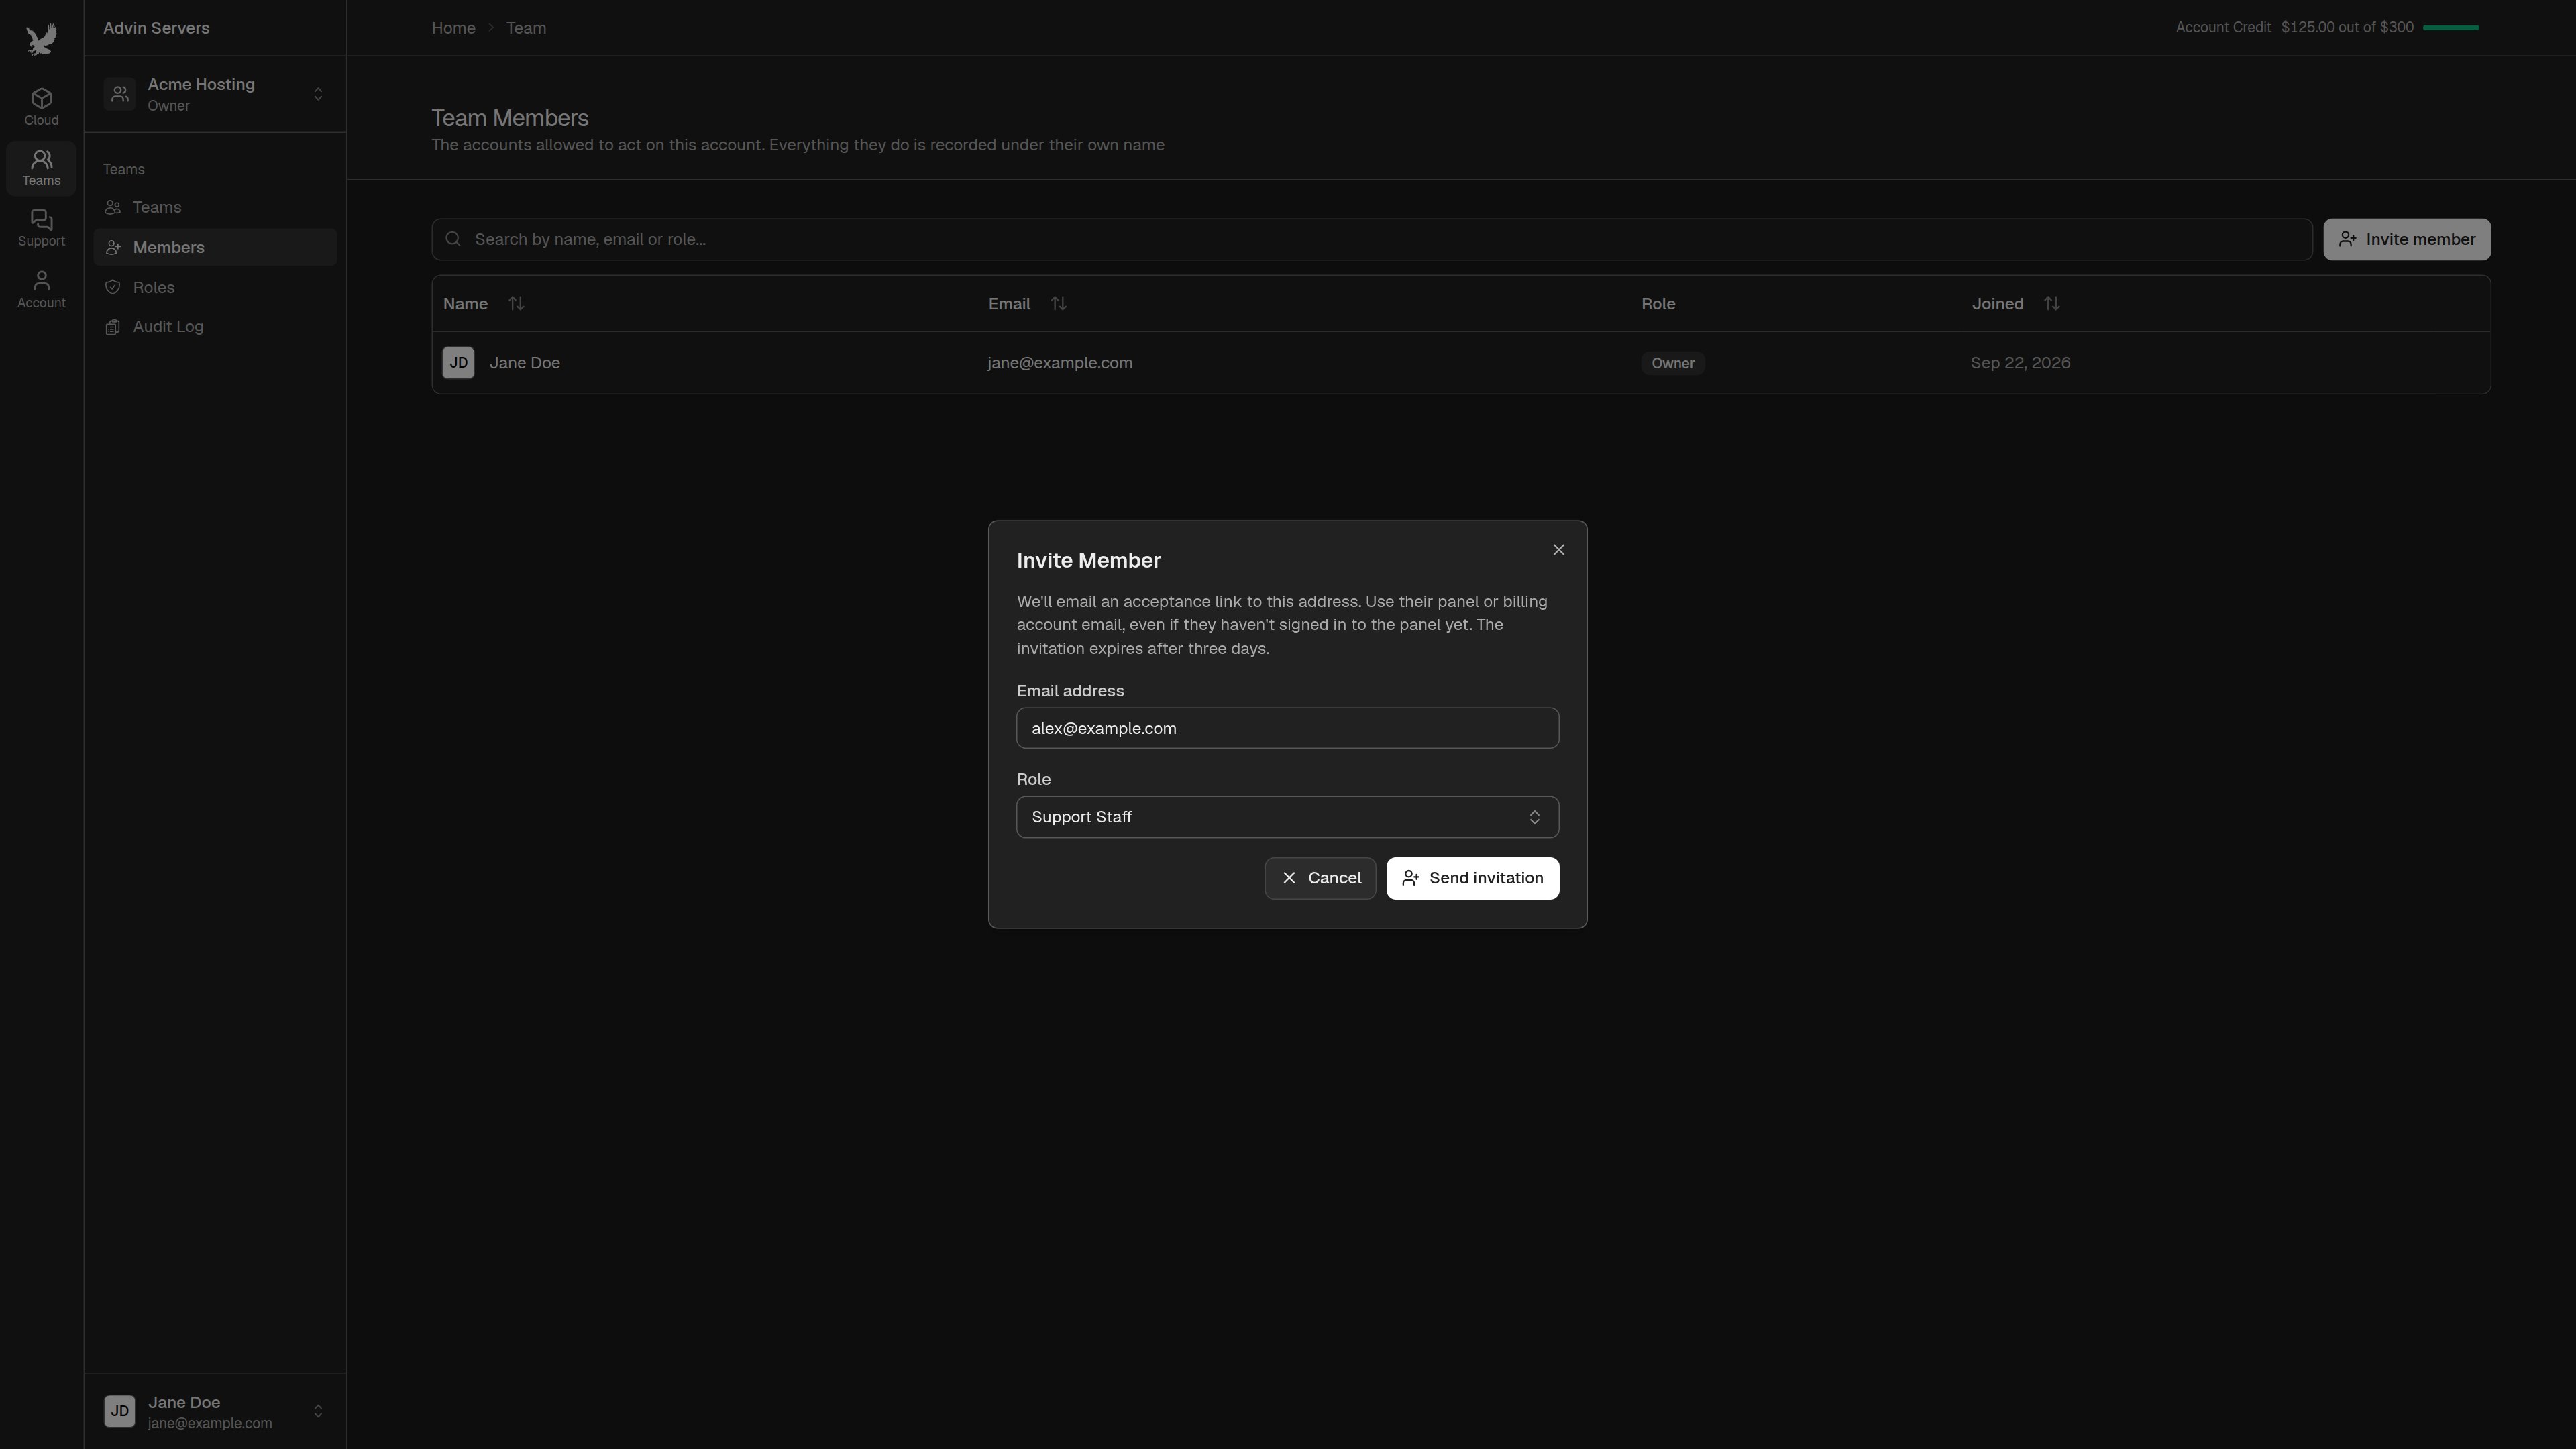
Send invitation.3
Wait for them to accept
We email them a link to accept. Until they answer, the invitation is listed under “Pending invitations”. Invitations expire after 3 days.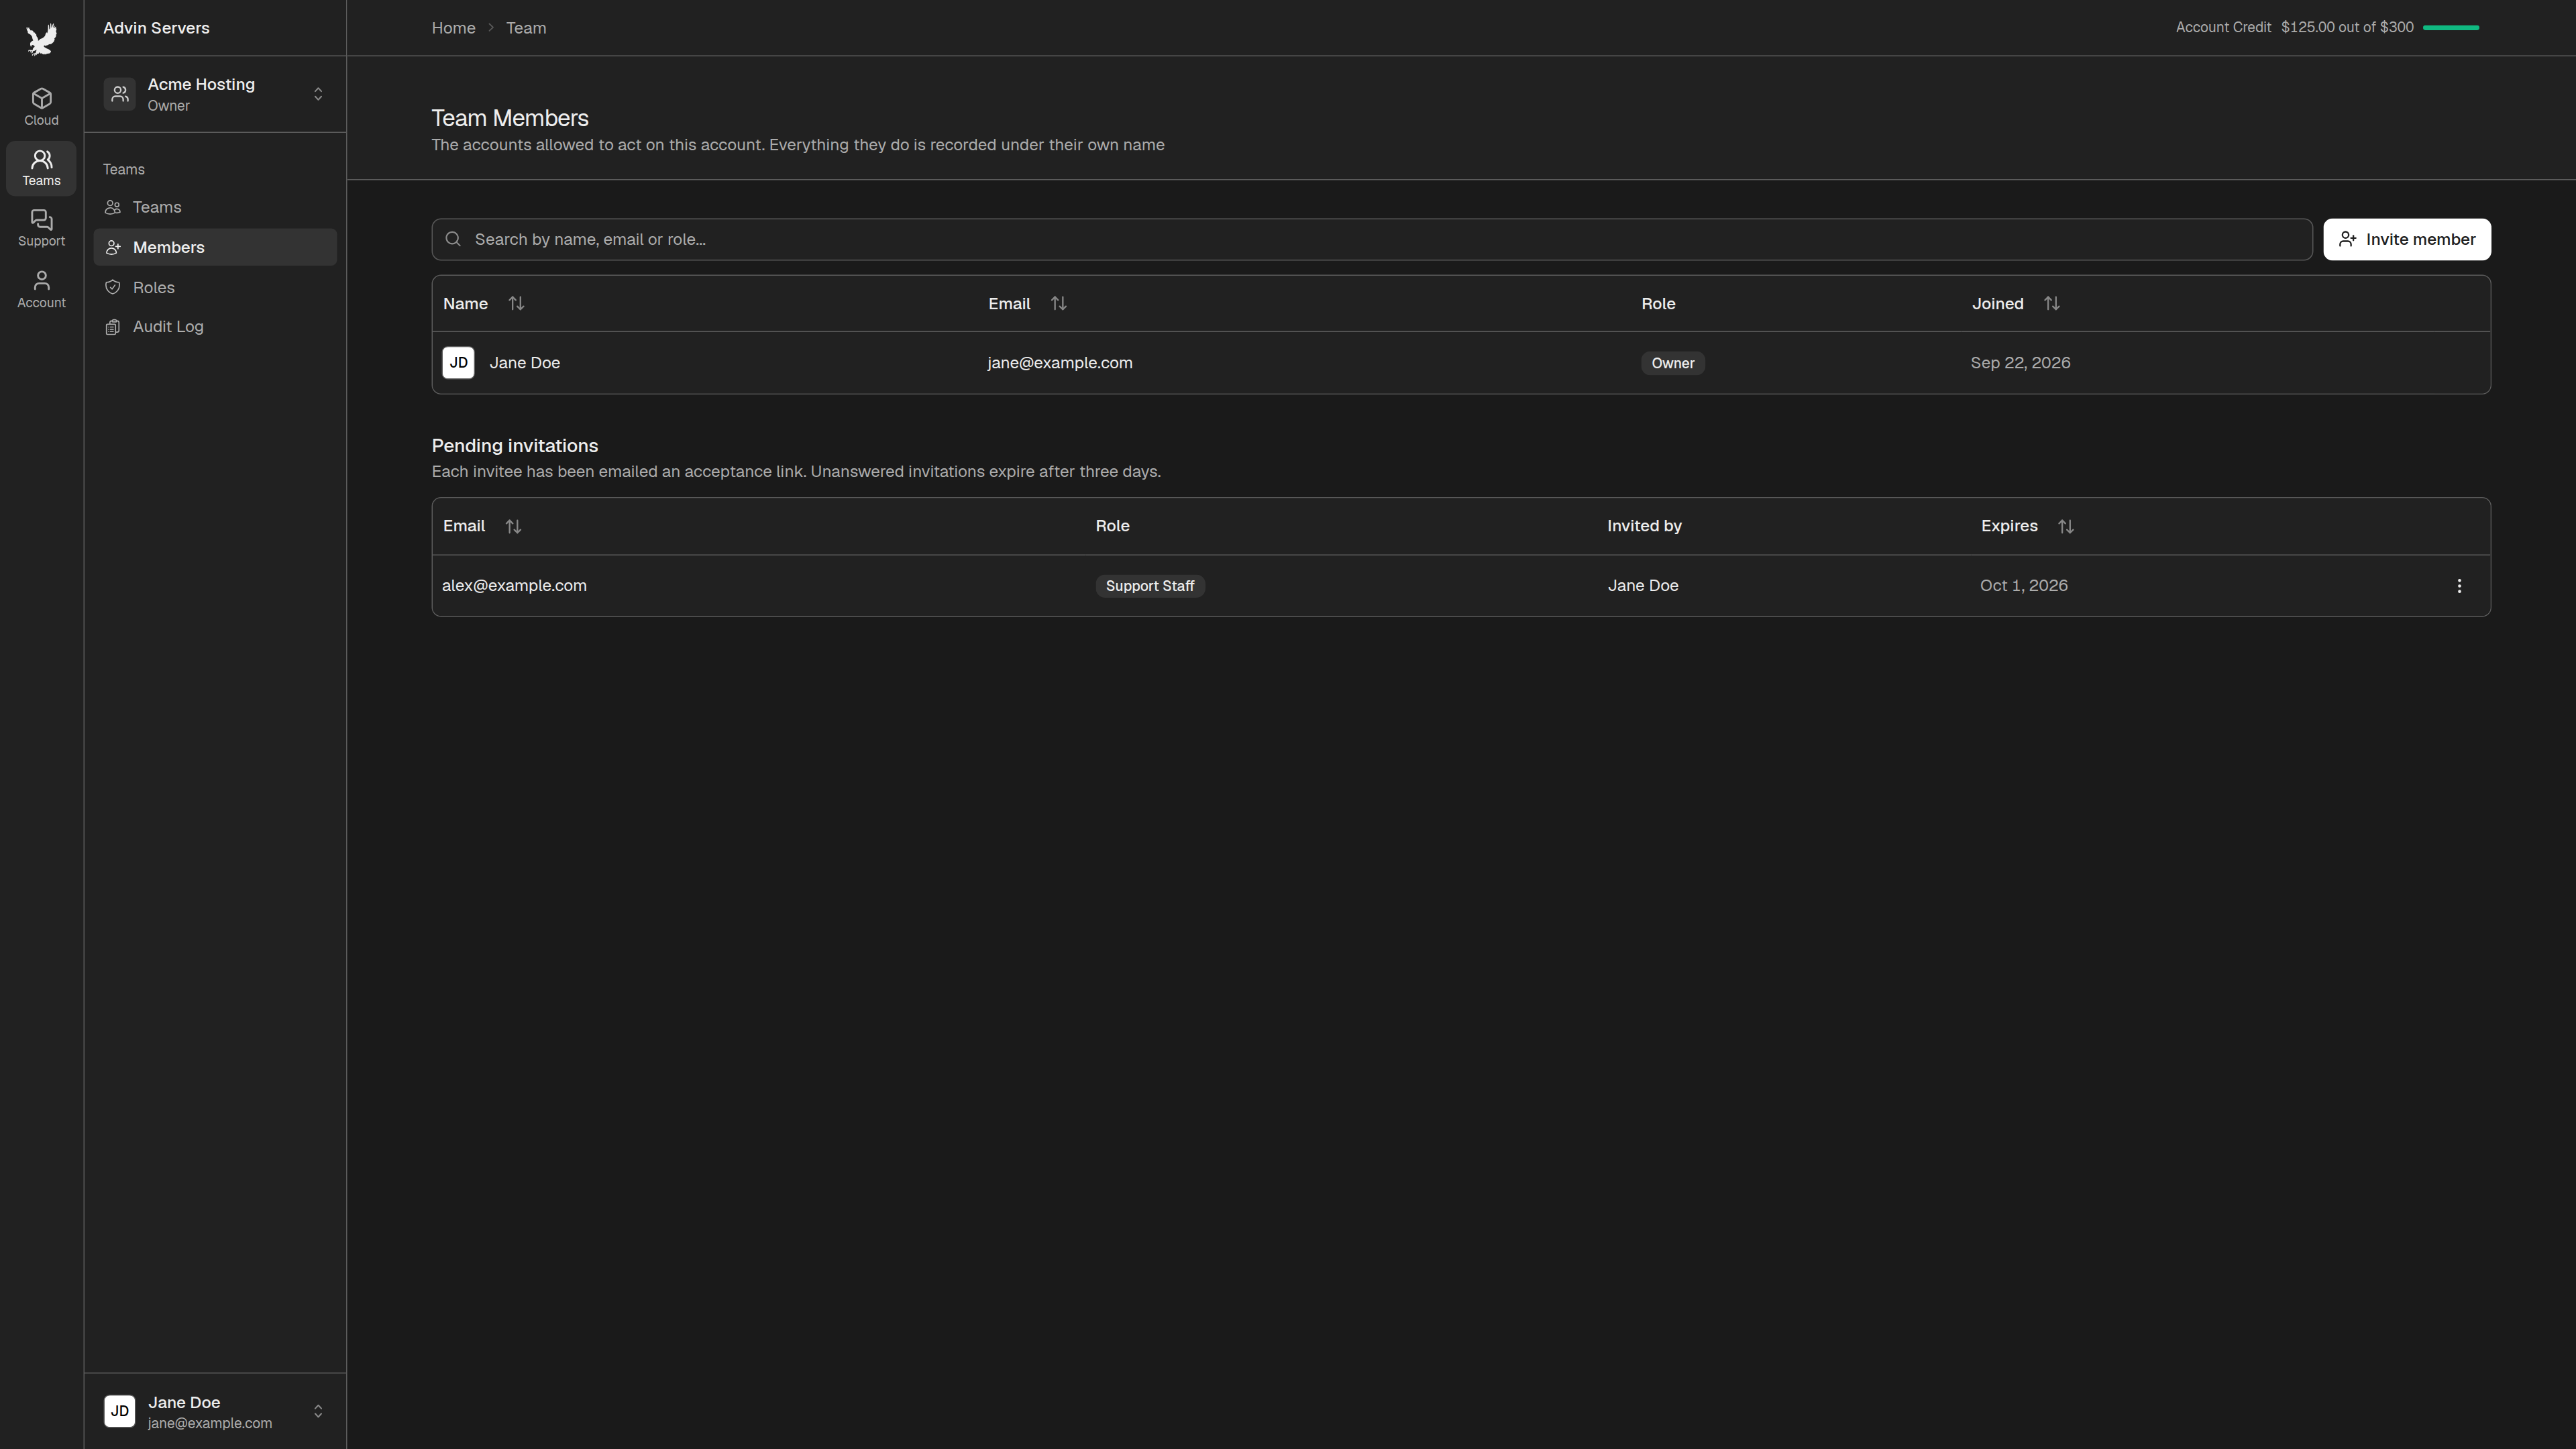
Withdraw invitation. To send a new link, invite the same address again. This replaces the old invitation.Accepting an Invitation
The person you invited opens the link in the email and signs in. They are asked to accept or decline.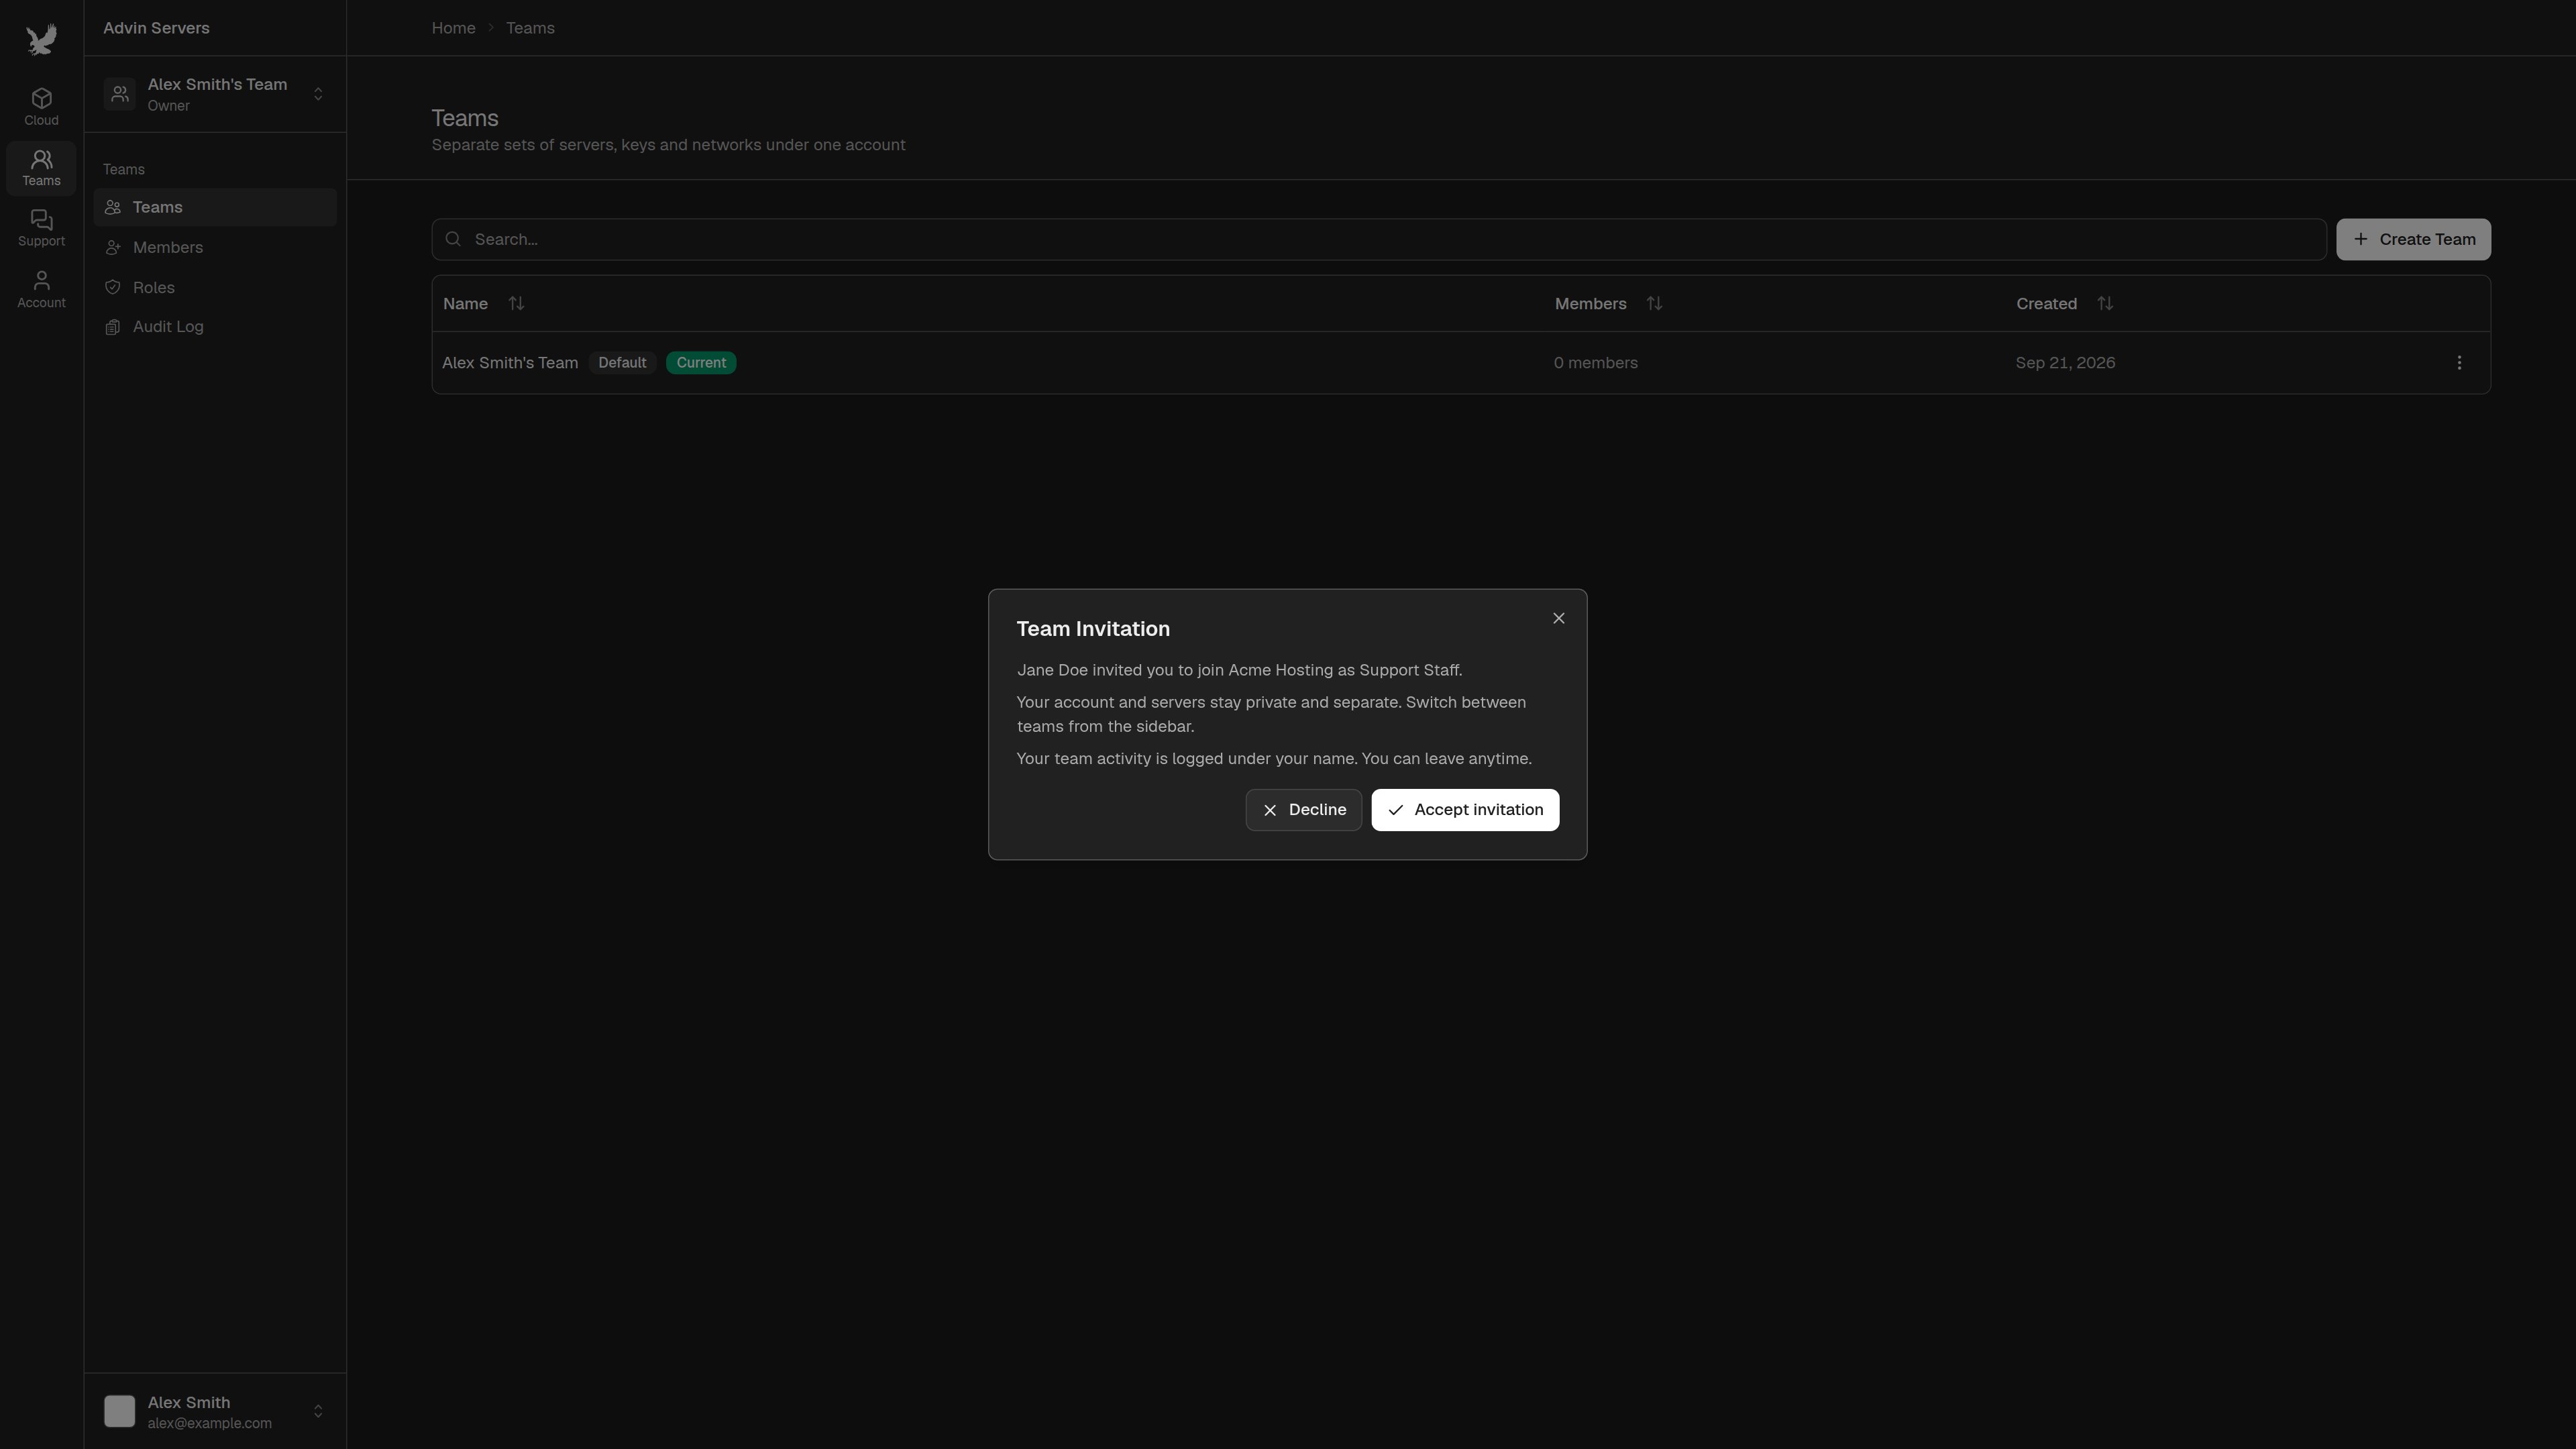
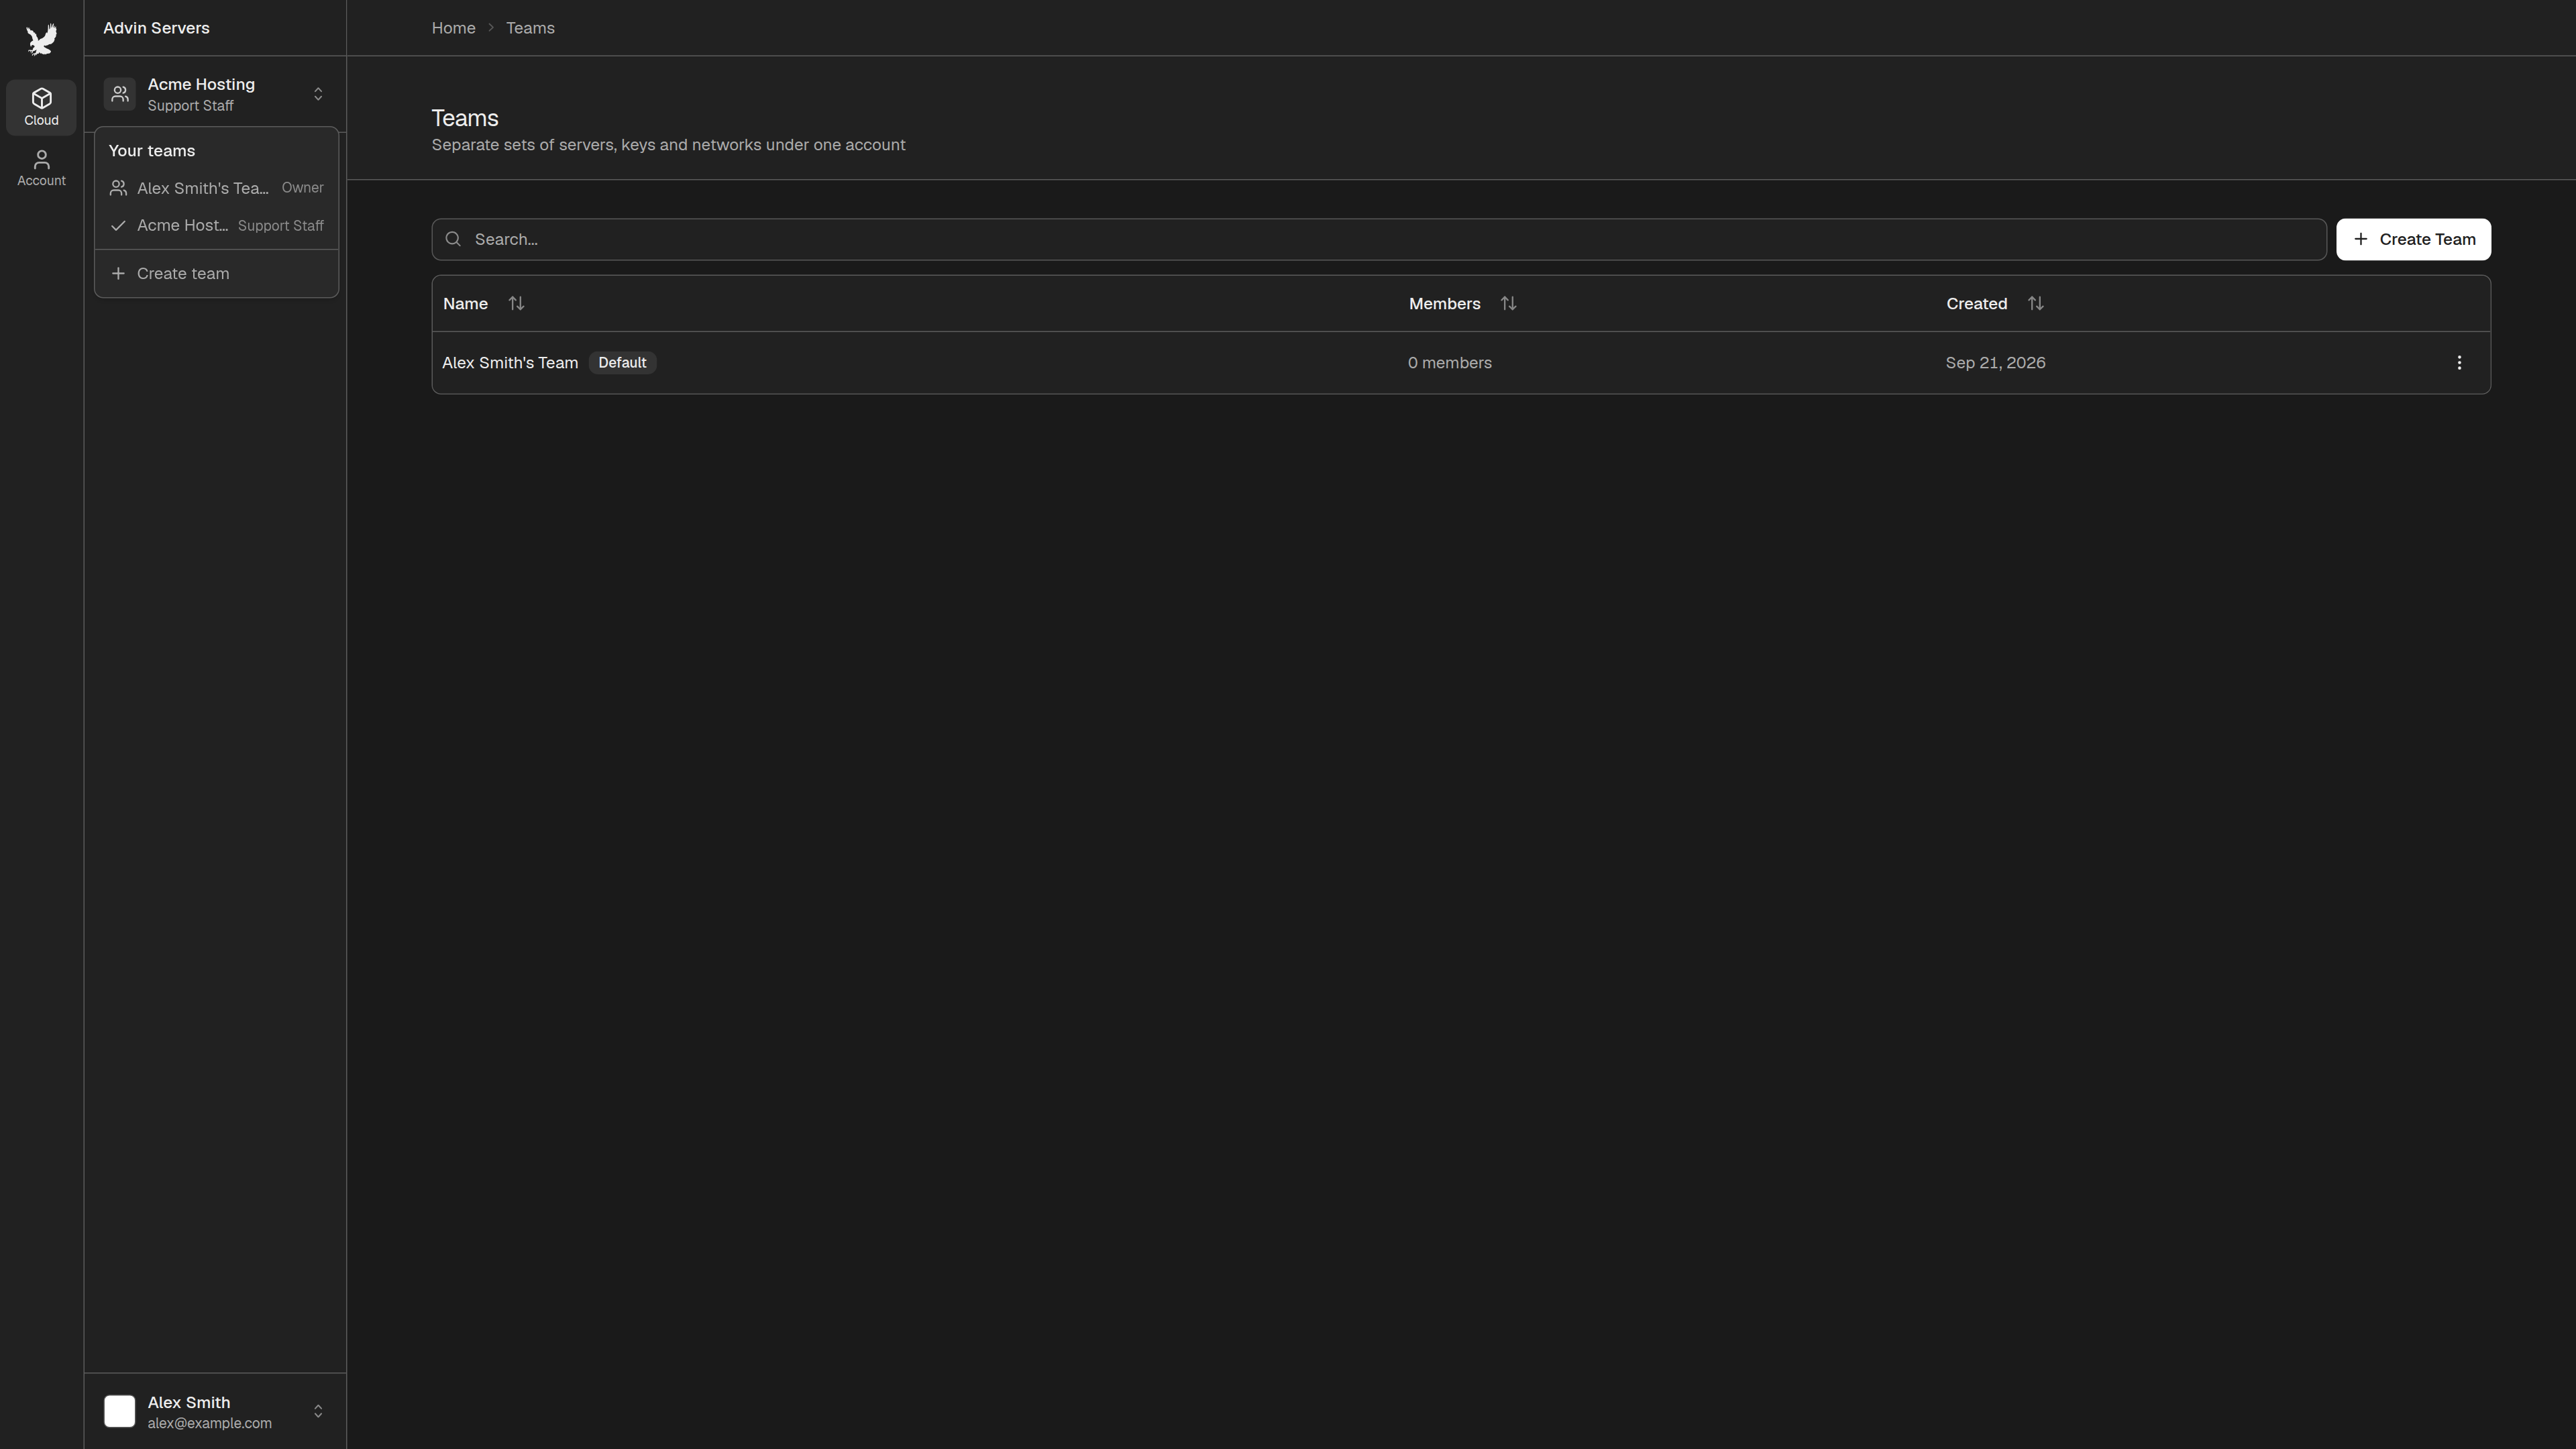
Changing a Member’s Role or Removing Them
On the Members page, click the menu at the end of a member’s row.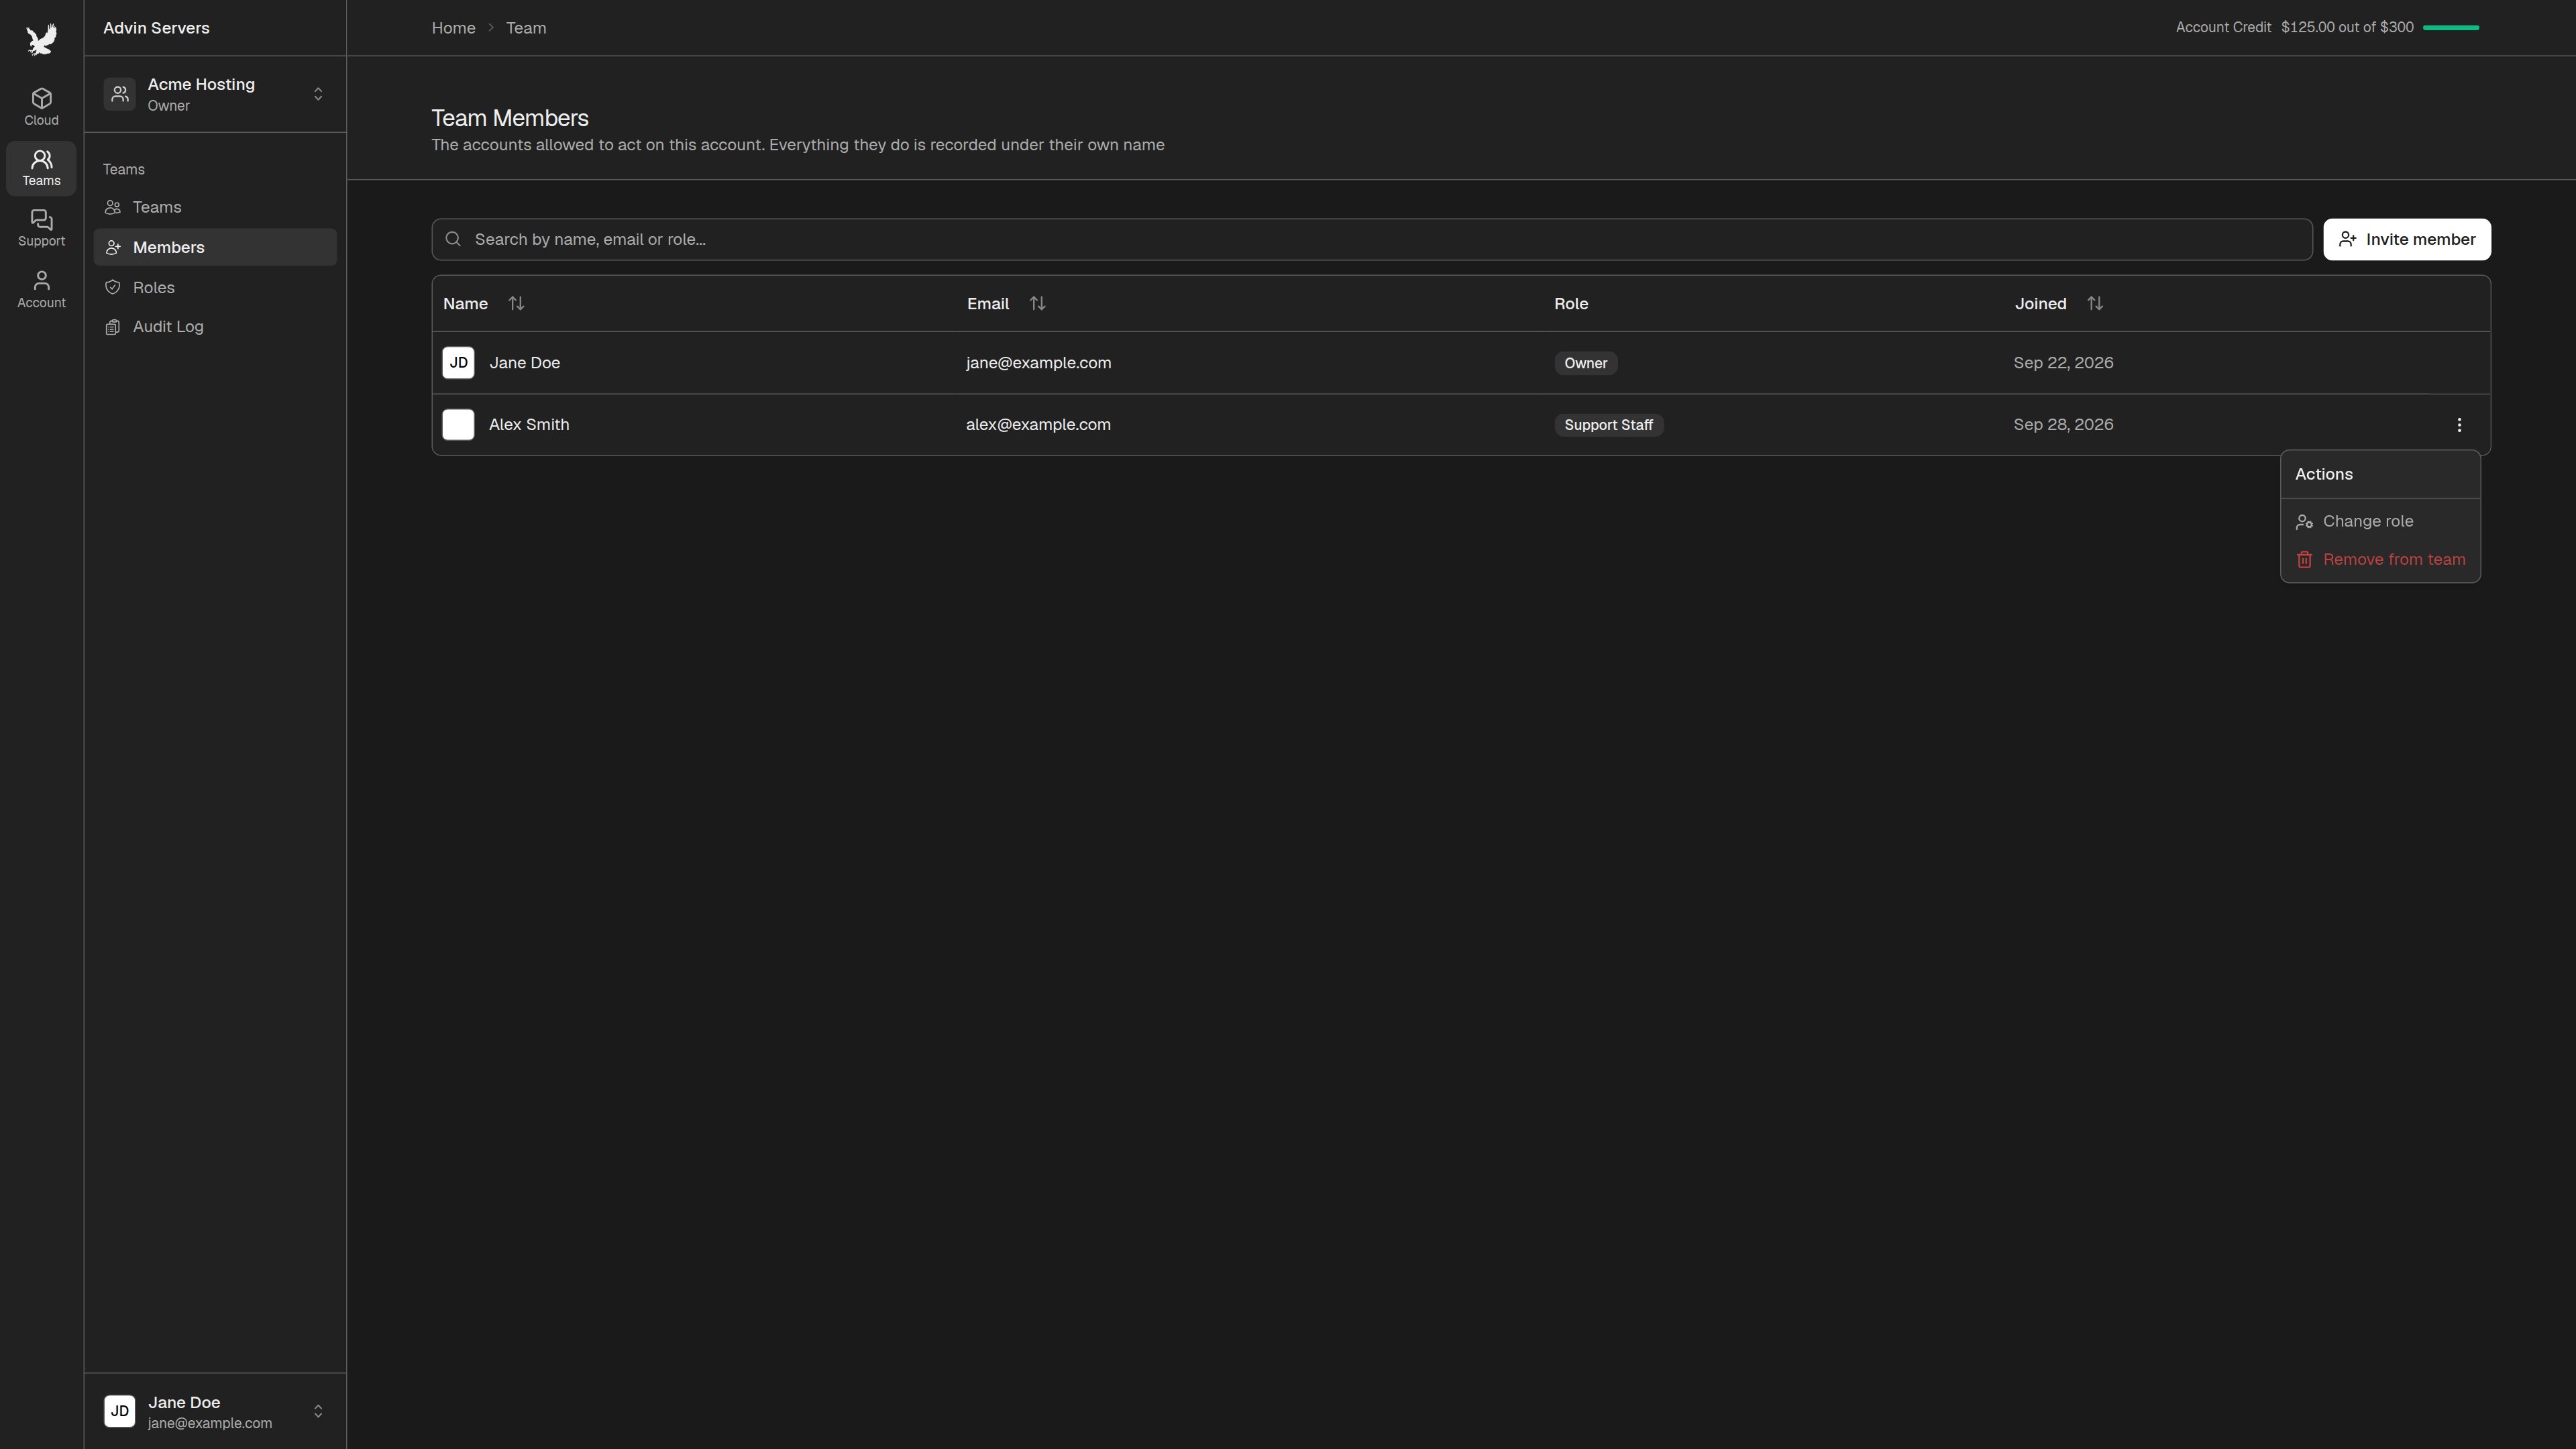
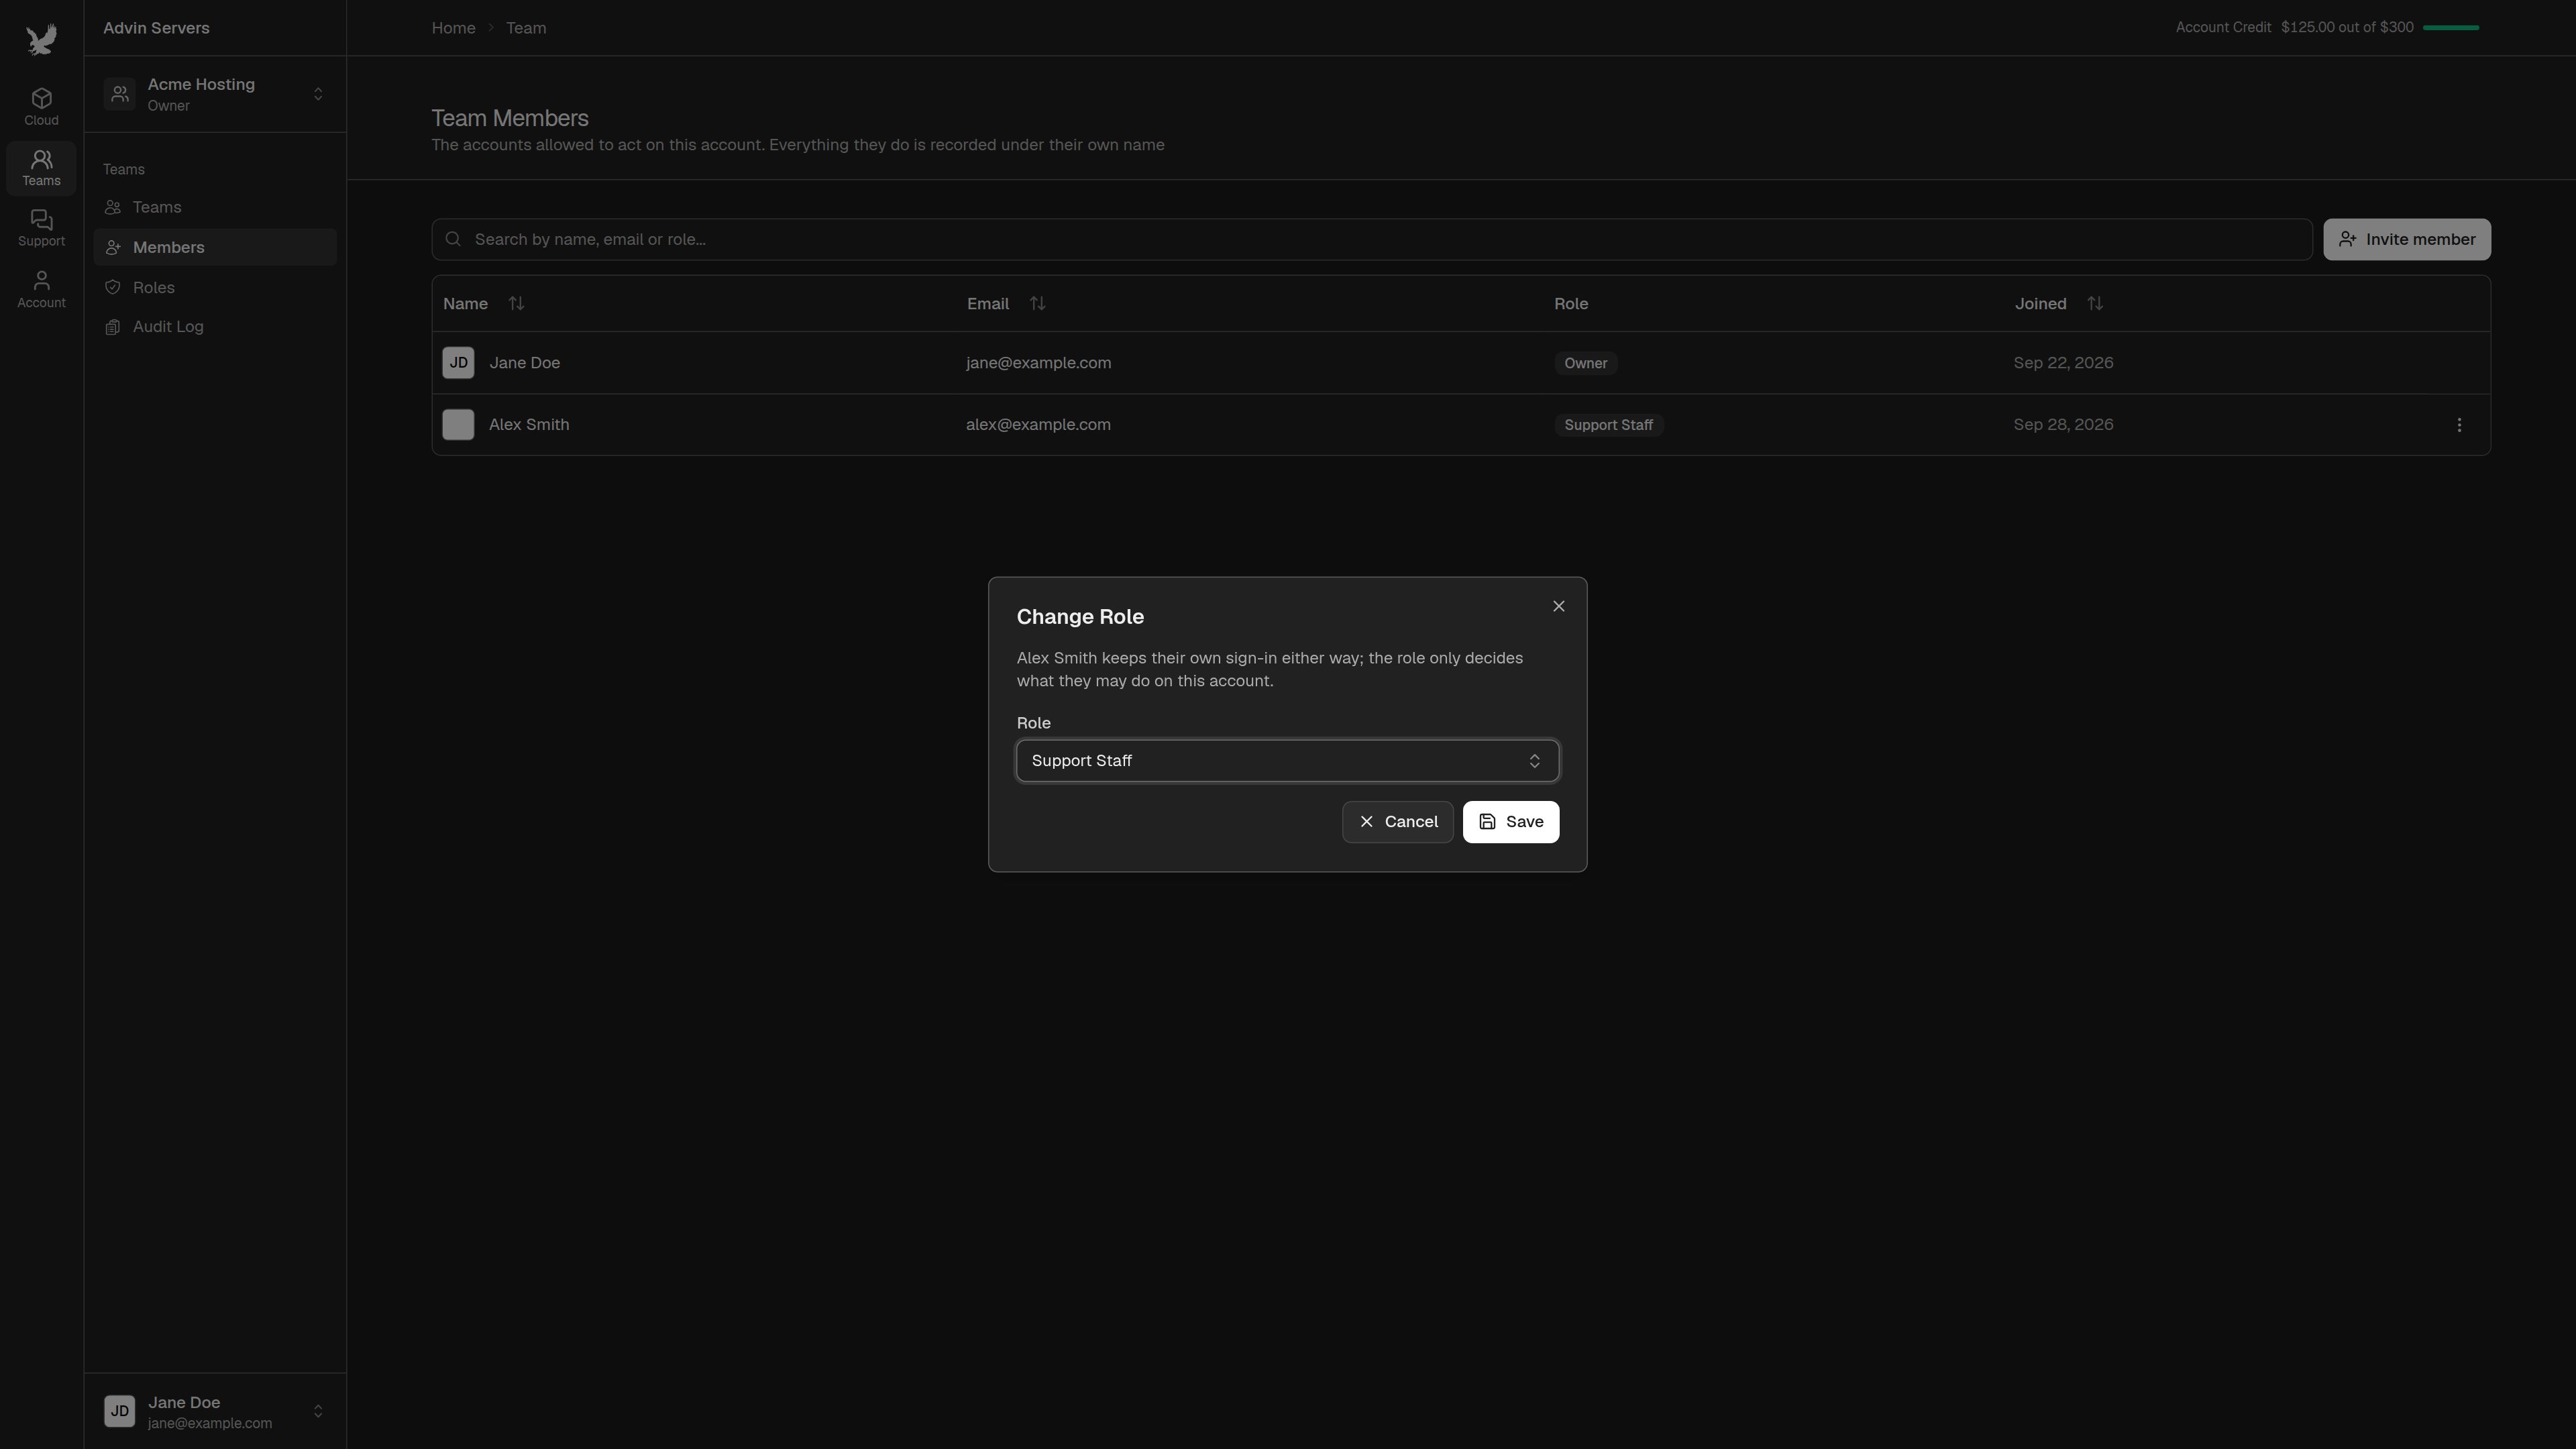
Change rolemoves them onto another role. The change applies on their next click.Remove from teamtakes away their access straight away. Their activity history stays in the team’s audit log.